NIARC Dev Blog 1
What is NIARC?
In the NIARC Dev Blogs, I will be documenting and discussing the process of the robot car development. To start off, NIARC is the National Instrument Autonomous Robotics Competition which runs on an annual basis. Universities around Australia and New Zealand sign up and compete with each other based on the predetermined tasks and obstacle course. The rules and challenges differ from year to year, and this encourages students to try out new designs and produce prototypes which are suitable for specific purposes. See the official NIARC Facebook Page and NIARC YouTube Channel for some footages from the past competitions.
Ordering Parts
Since robot parts are extremely expensive in Australia, it was decided to order directly from Chinese vendors which offer more reasonable pricing on the robot parts. However, it turns out that not all the parts have the international shipping option enabled. Therefore, I started looking for alternative methods for purchasing the parts. Through a friend’s recommendation, I came across Cssbuy, a third party shipping forwarder which helps customers purchase products from in-land China, then have them shipped to the preferred overseas address.
The steps taken are outlined below:
- Find out exactly what you need to buy from Taobao.
- Note down the Taobao hyperlink of the products, and its corresponding variant and quantity.
- Create account / log in to Cssbuy.
- Input the links and options noted down in step 2.
- Charge up the account balance using PayPal.
- Place the order and wait for items to arrive at the warehouse. (For a small fee you can request photos of the products to be taken, once they have arrived at the warehouse.)
- Once all the ordered items have arrived at the warehouse, you can then ship the items using your preferred shipping method.
For me the items arrived in approximately one week after finalising the shipping details, which was a bit faster than I expected. It is also worth noting that the products were well packaged and a generous amount of bubble wraps were included to ensure that any potential damage to the goods was minimised.
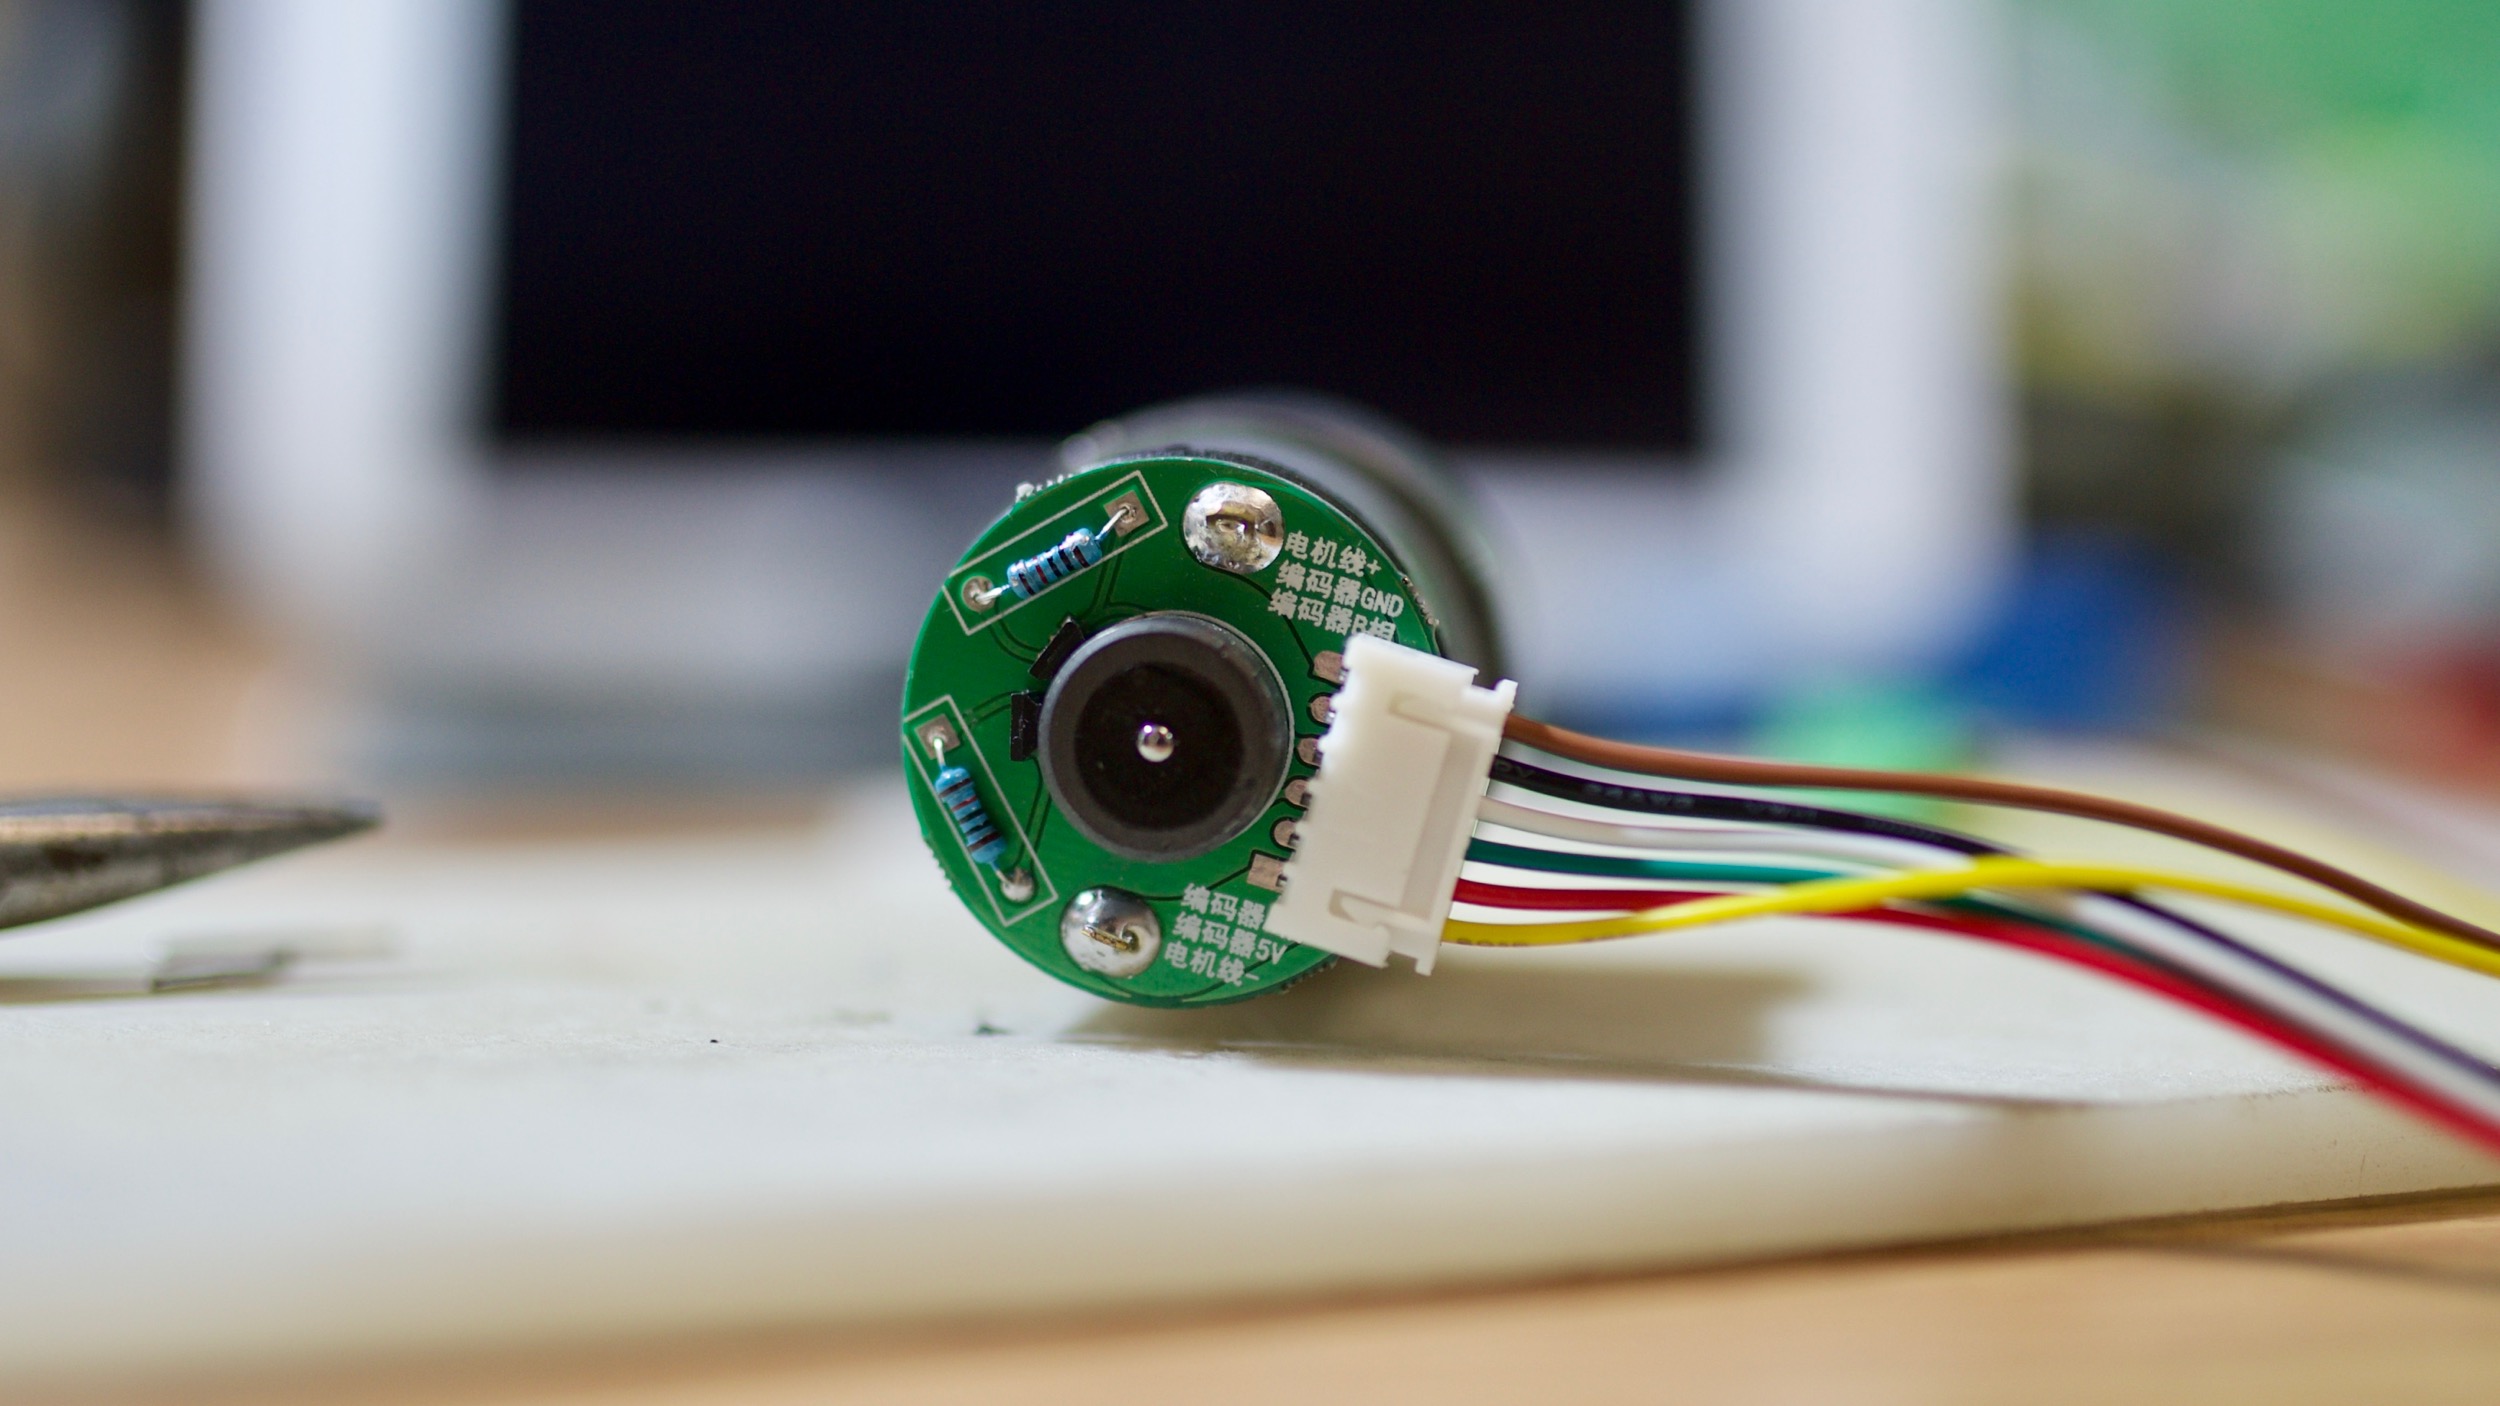
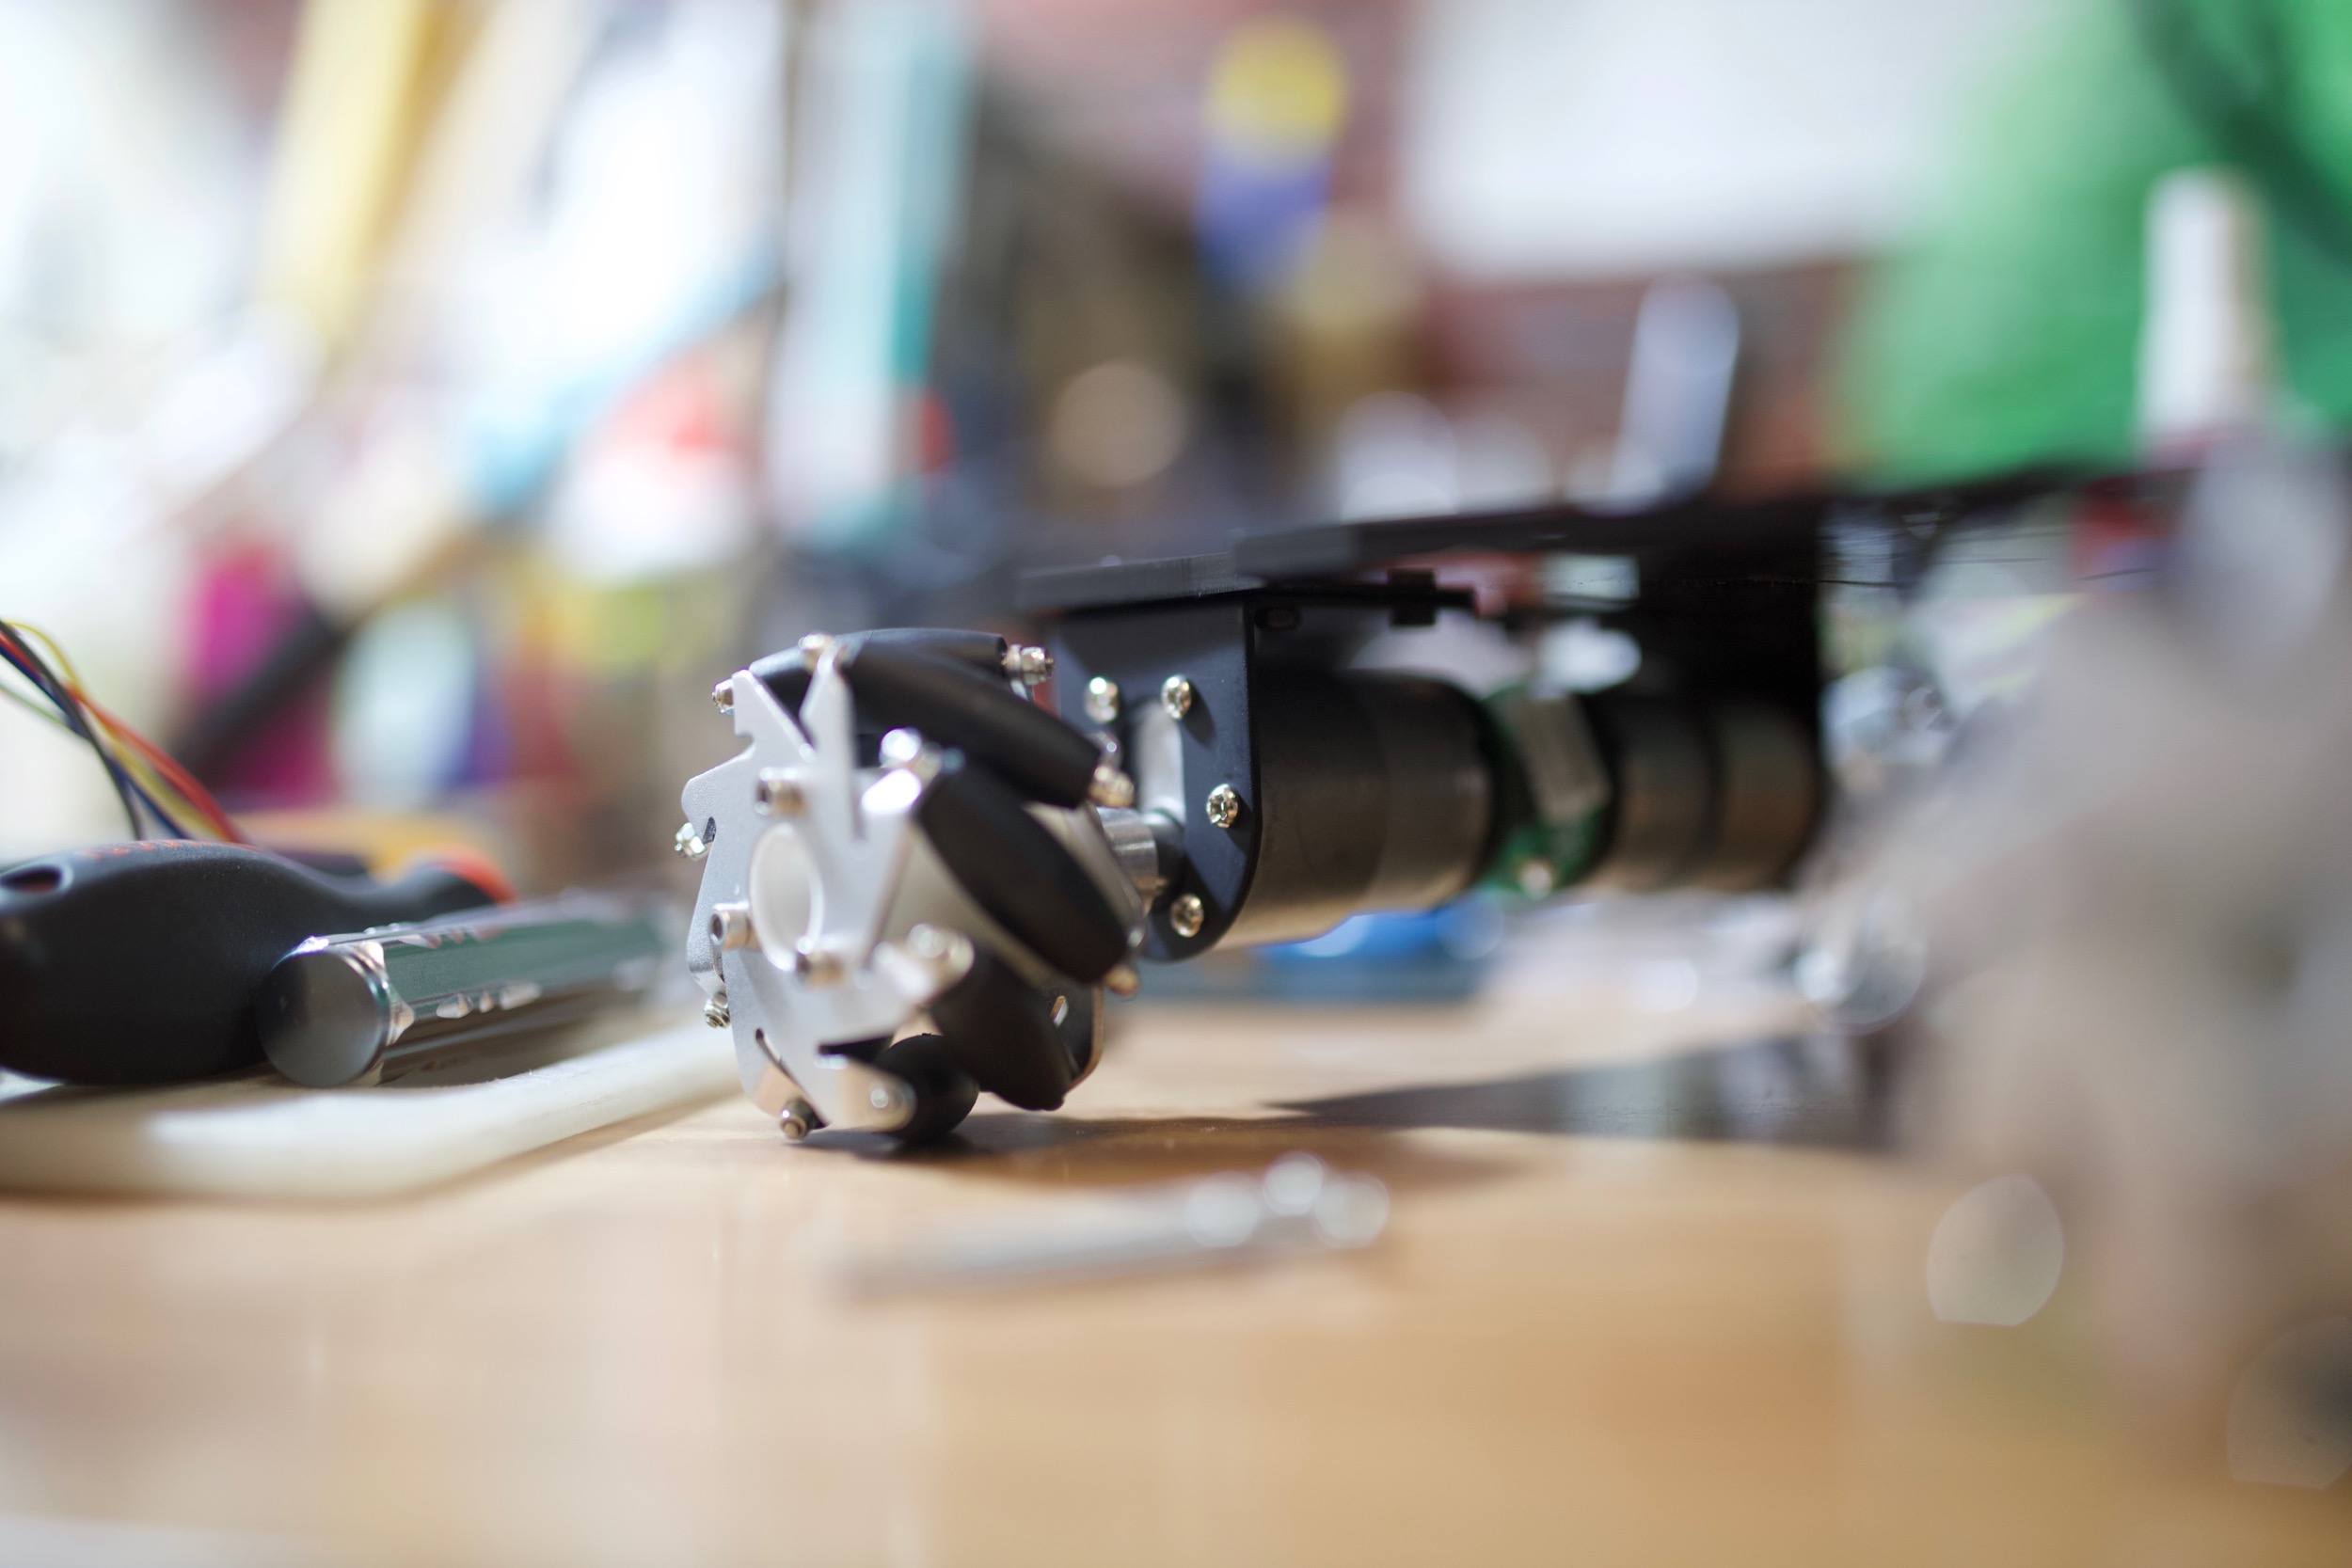
Initial Assembly
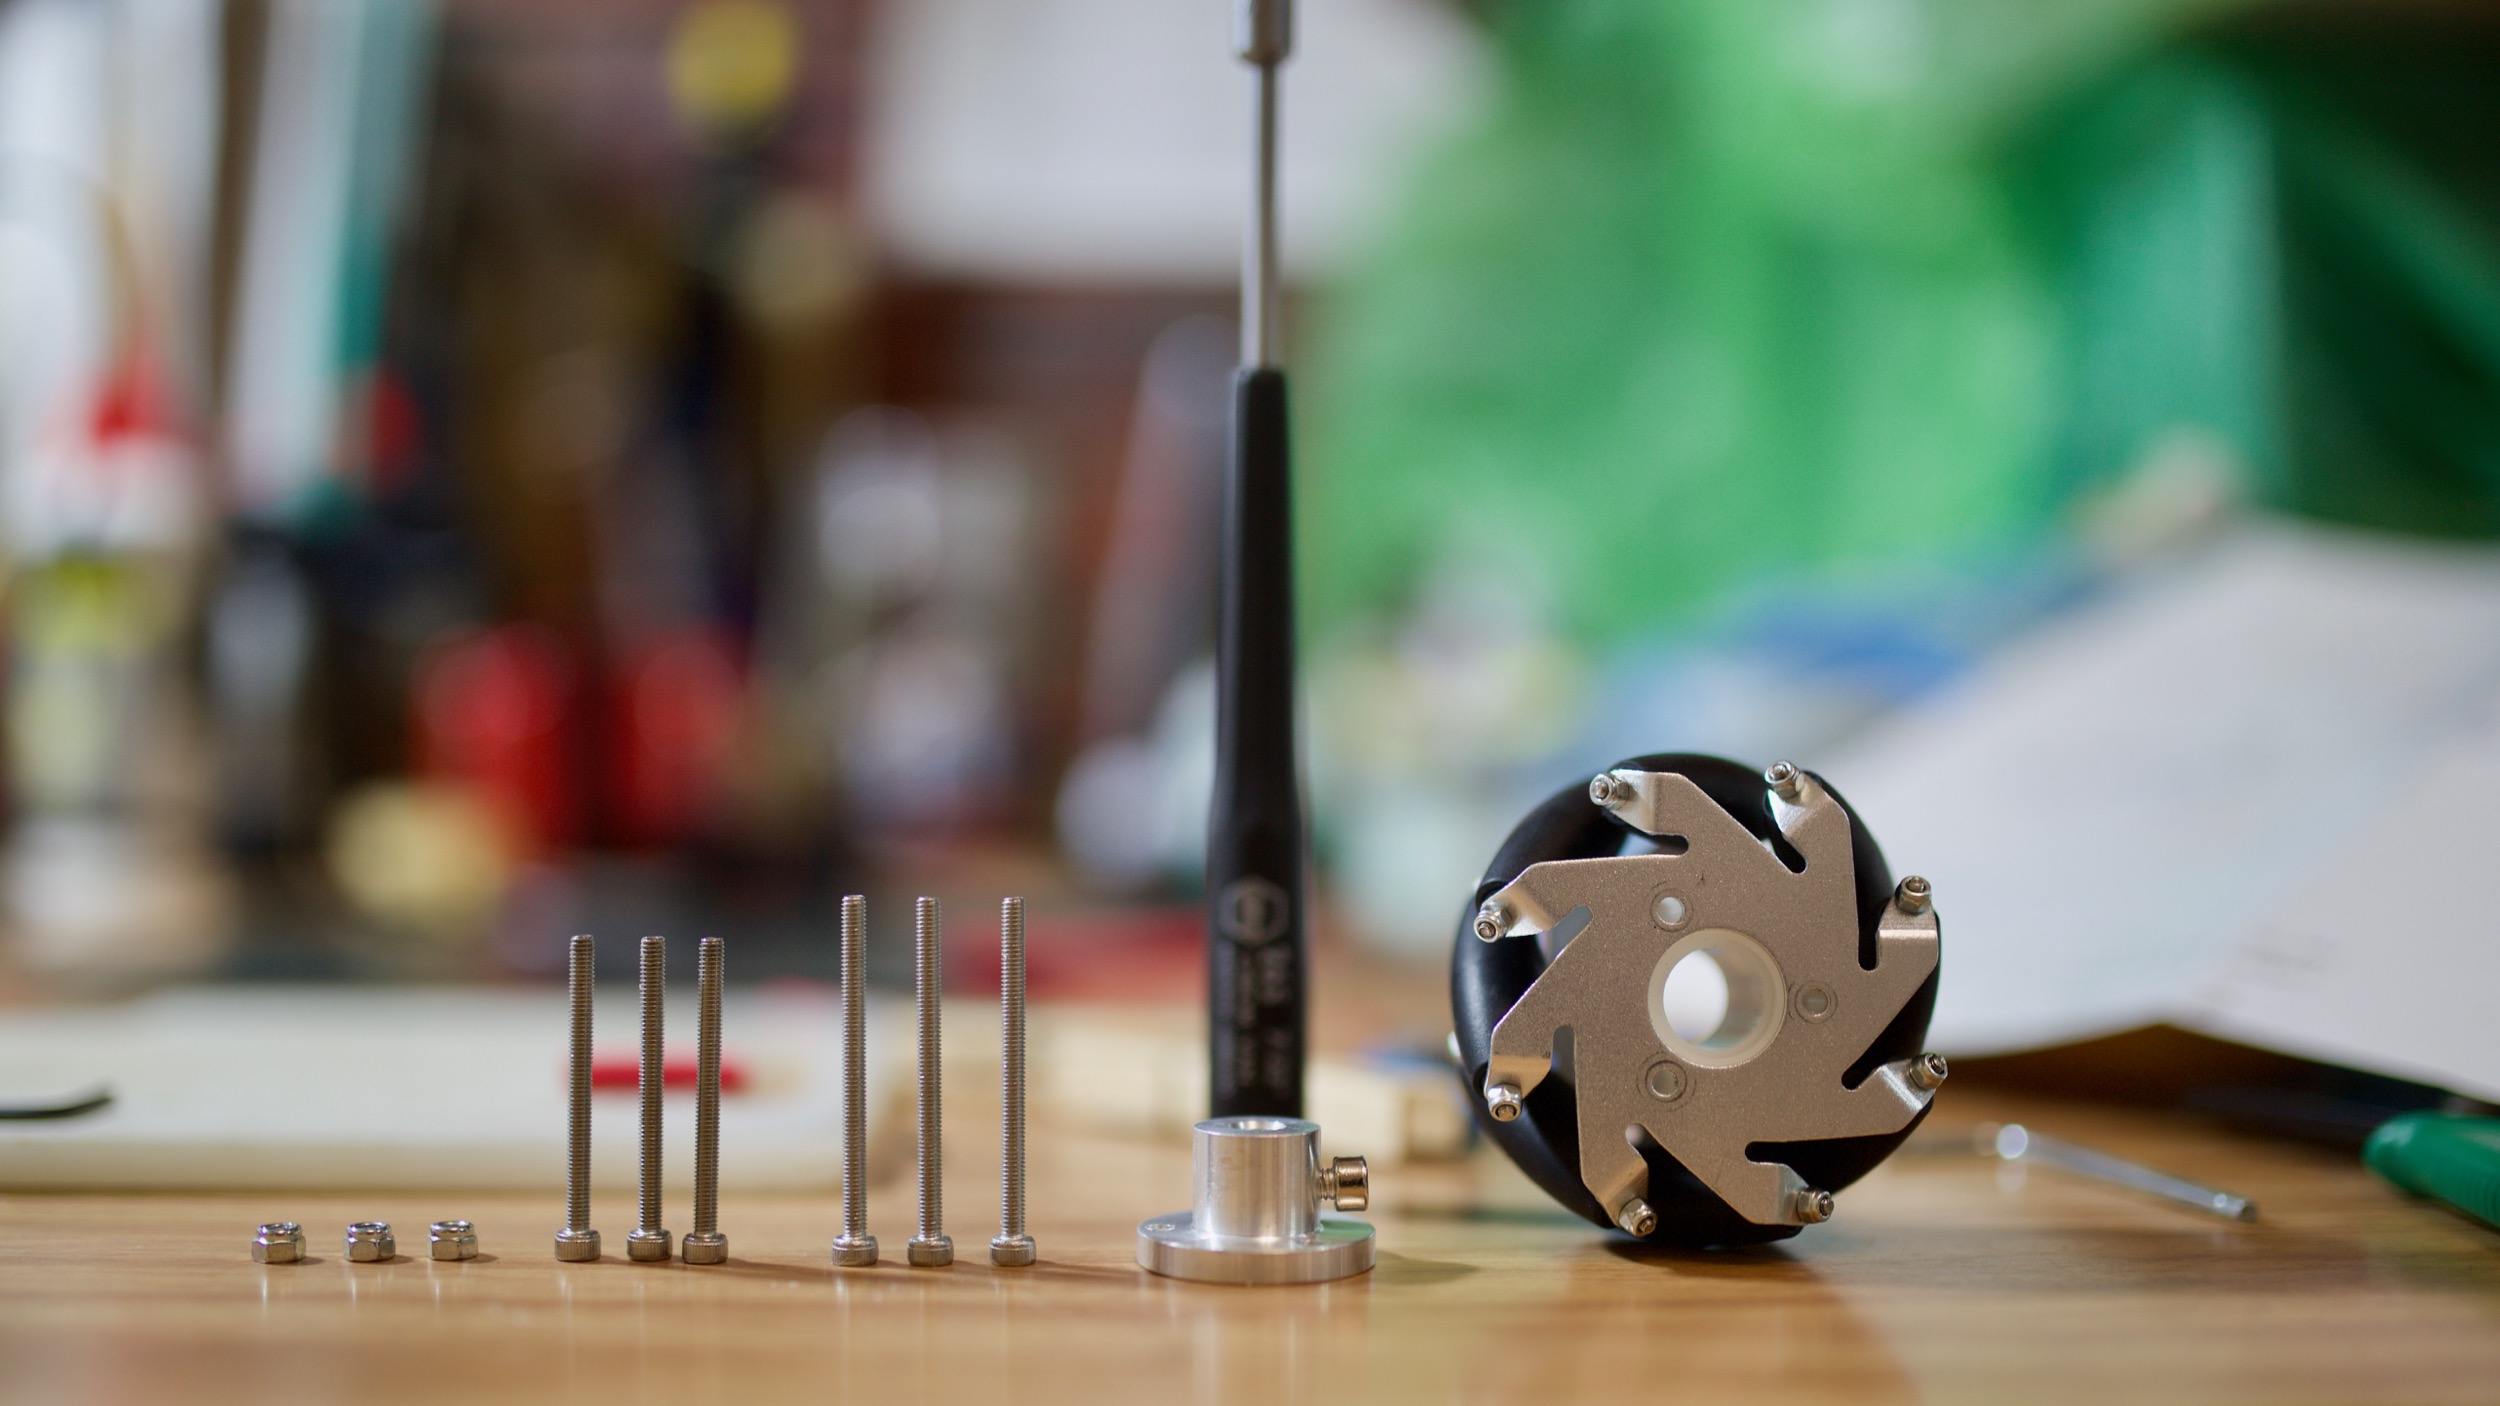
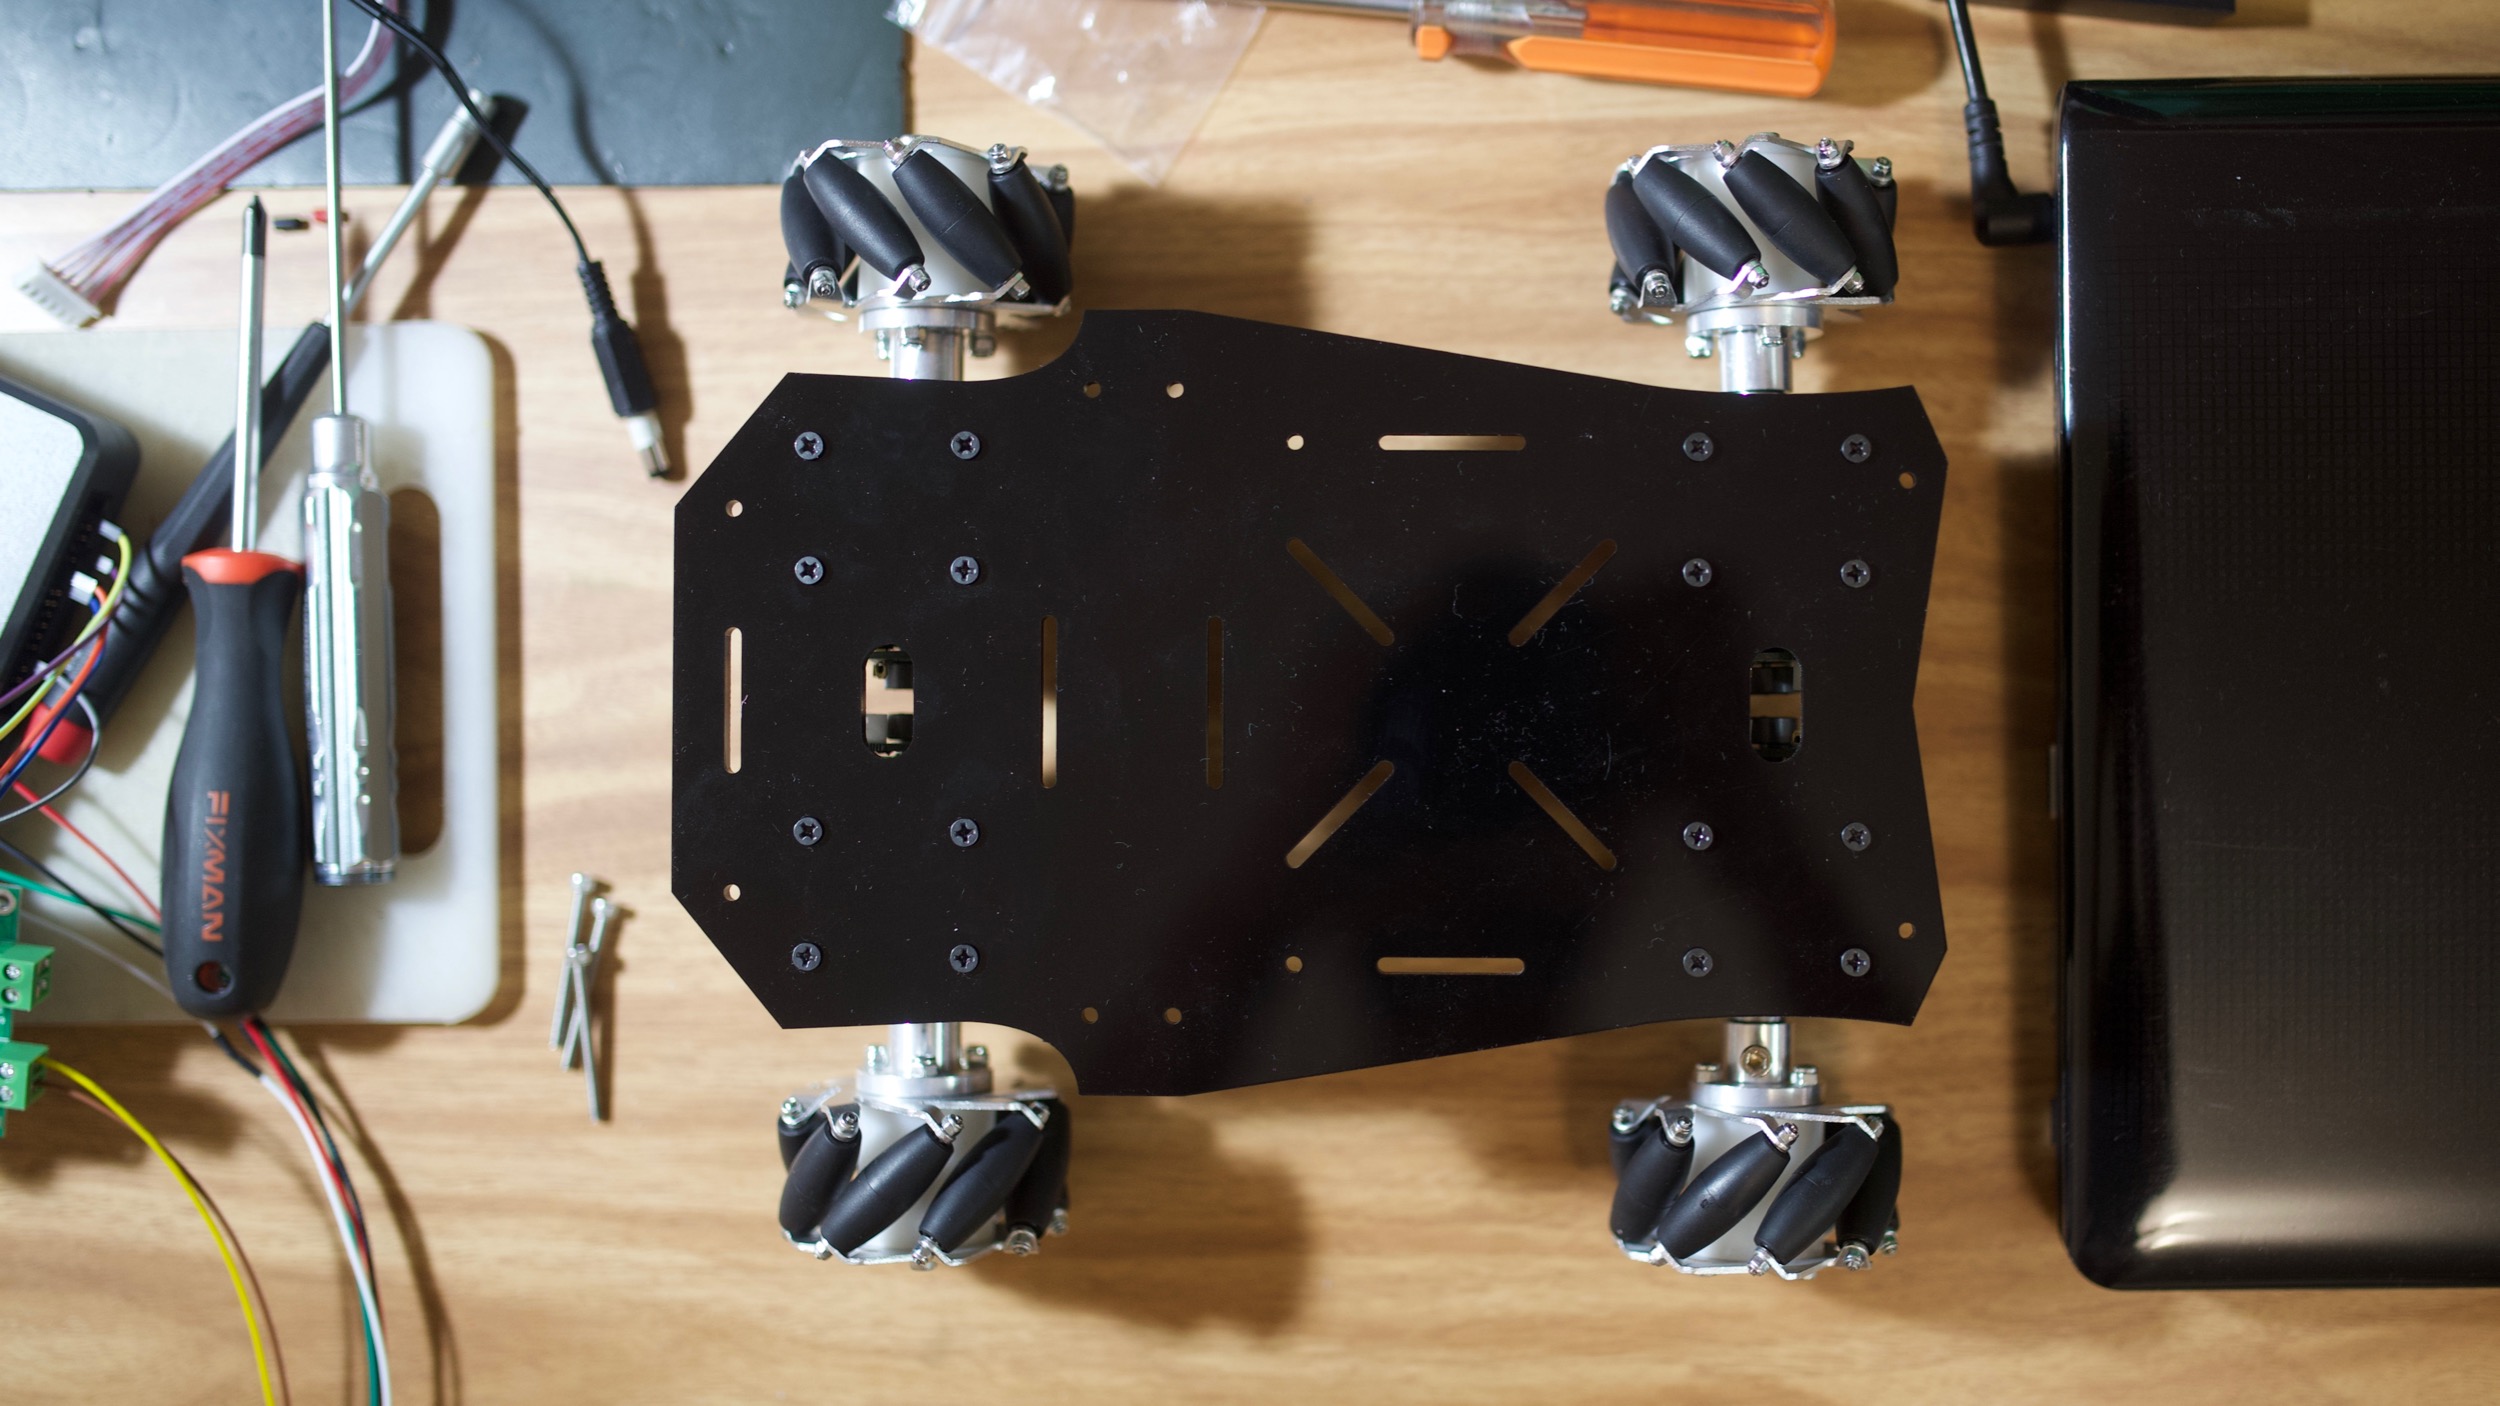
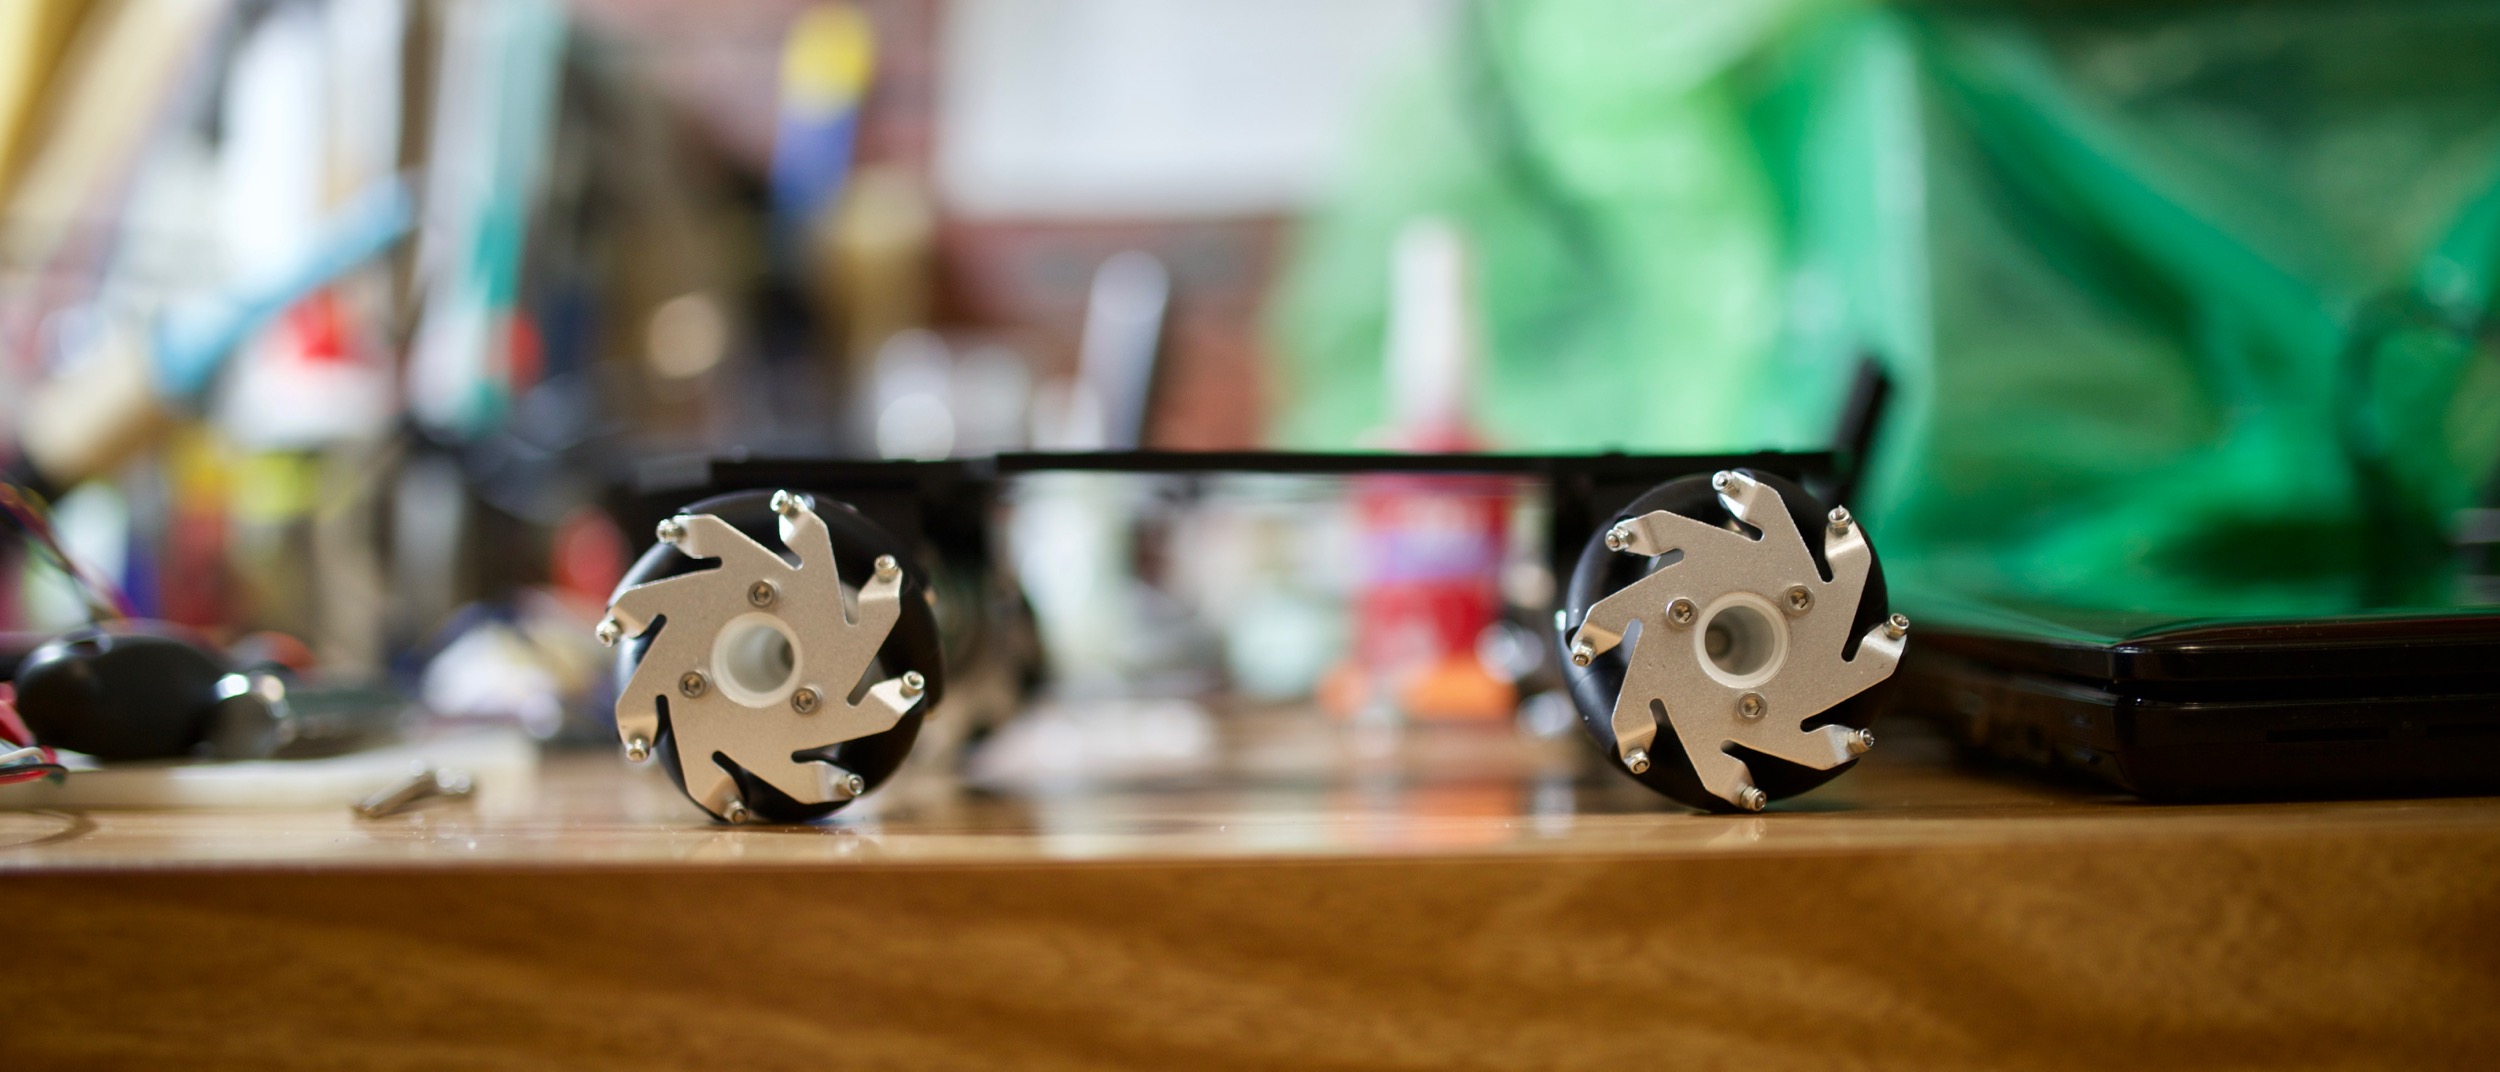
After finding the right tools (suitable screw drivers and soldering equipment), the assembly process becomes rather straightforward. However, I did have to stop at one point because the motor shaft had an interference fit with the wheel hub. This problem was addressed by using a metal file to increase the inner diameter of the wheel hub, just enough for the motor shaft to fit through.
Overall, I quite enjoyed the process of putting together all the individual parts. Even though certain steps were repetitive, it was still quite amazing to see how we have the ability to produce such precise and user-friendly parts economically and have them shipped to the customers in such a short time frame.
What is next?
- Complete pin assignment table
- Basic programming of the robot car in LabView
- Have the whole team complete the first milestone (LabView Core 1 & 2 Training Exercises)
- Name the robot