Cooking with Sous-vide
This blog post will be a small write-up regarding my recent experience of cooking with sous-vide and my thoughts about the overall pros and cons of this approach.
Sous-vide is a french term which literally means ‘under vacuum’. It can also be defined as a method of preserving food by partial cooking followed by vacuum-sealing and chilling. Or as some of my friends like it put it, a French water-bath for food. On the technical side of things, one can think of it as a tool which measures and regulates water temperature precisely and accurately.
Using this method, we can ‘cook’ the inside of any meat to the exact level as desired. For instance, if we have a very thick piece of beef, it would be very challenging to cook the inside to be perfect medium-rare while ensuring that the exterior is not over-cooked. With a sous-vide setup, we can put the meat into a vacuum-sealed/ziplock bag, and then rest it within the warm/hot water tub until the whole piece is thoroughly cooked to the desired level.
Preparation
One of the main lessons I have learnt recently from sous-vide cooking is that a long time is required to wait for the meat to be ready. Therefore, I would like to recommend everyone, including my future-self, to take this time requirement into account while planning so that the meals can be served in a timely manner. There is not that many steps involved in the overall cooking process, but it is important to start preparation early. Once the sous-vide process is started, you can work on other tasks or chat away with friends until the timer is up.
Depending on personal preference, decide on how much seasoning you want before sealing the meat. I would recommend having a quick read over different cooking sites to have a feel of what the potential outcomes may be. Personally, I season my beef with salt and pepper, salt with seafood, and pre-marination with poultry.
Vacuum-seal vs Ziplock Bag
In terms of sealing the meat, I have came across and tested two different options.
- Vacuum-seal: arguably more expensive but also provides a better seal.
- Ziplock bag: cheaper, easier to obtain, but slightly worse seal.
While it is often preferable to use a vacuum-seal machine to seal the meat, it is not always available and the cost of the vacuum-seal bag can add up pretty quickly if you are cooking large batches on a frequent basis. So the alternative approach is the use ziplock bags combined with the water displacement method to achieve the best sealing performance possible.
Through my recent experience, I can say that if both methods are executed properly, the end results should not differ much. Theoretically, the vacuum-seal approach should yield slightly better taste due to the additional compression provided by the vacuum.
Cooking Chicken Thigh
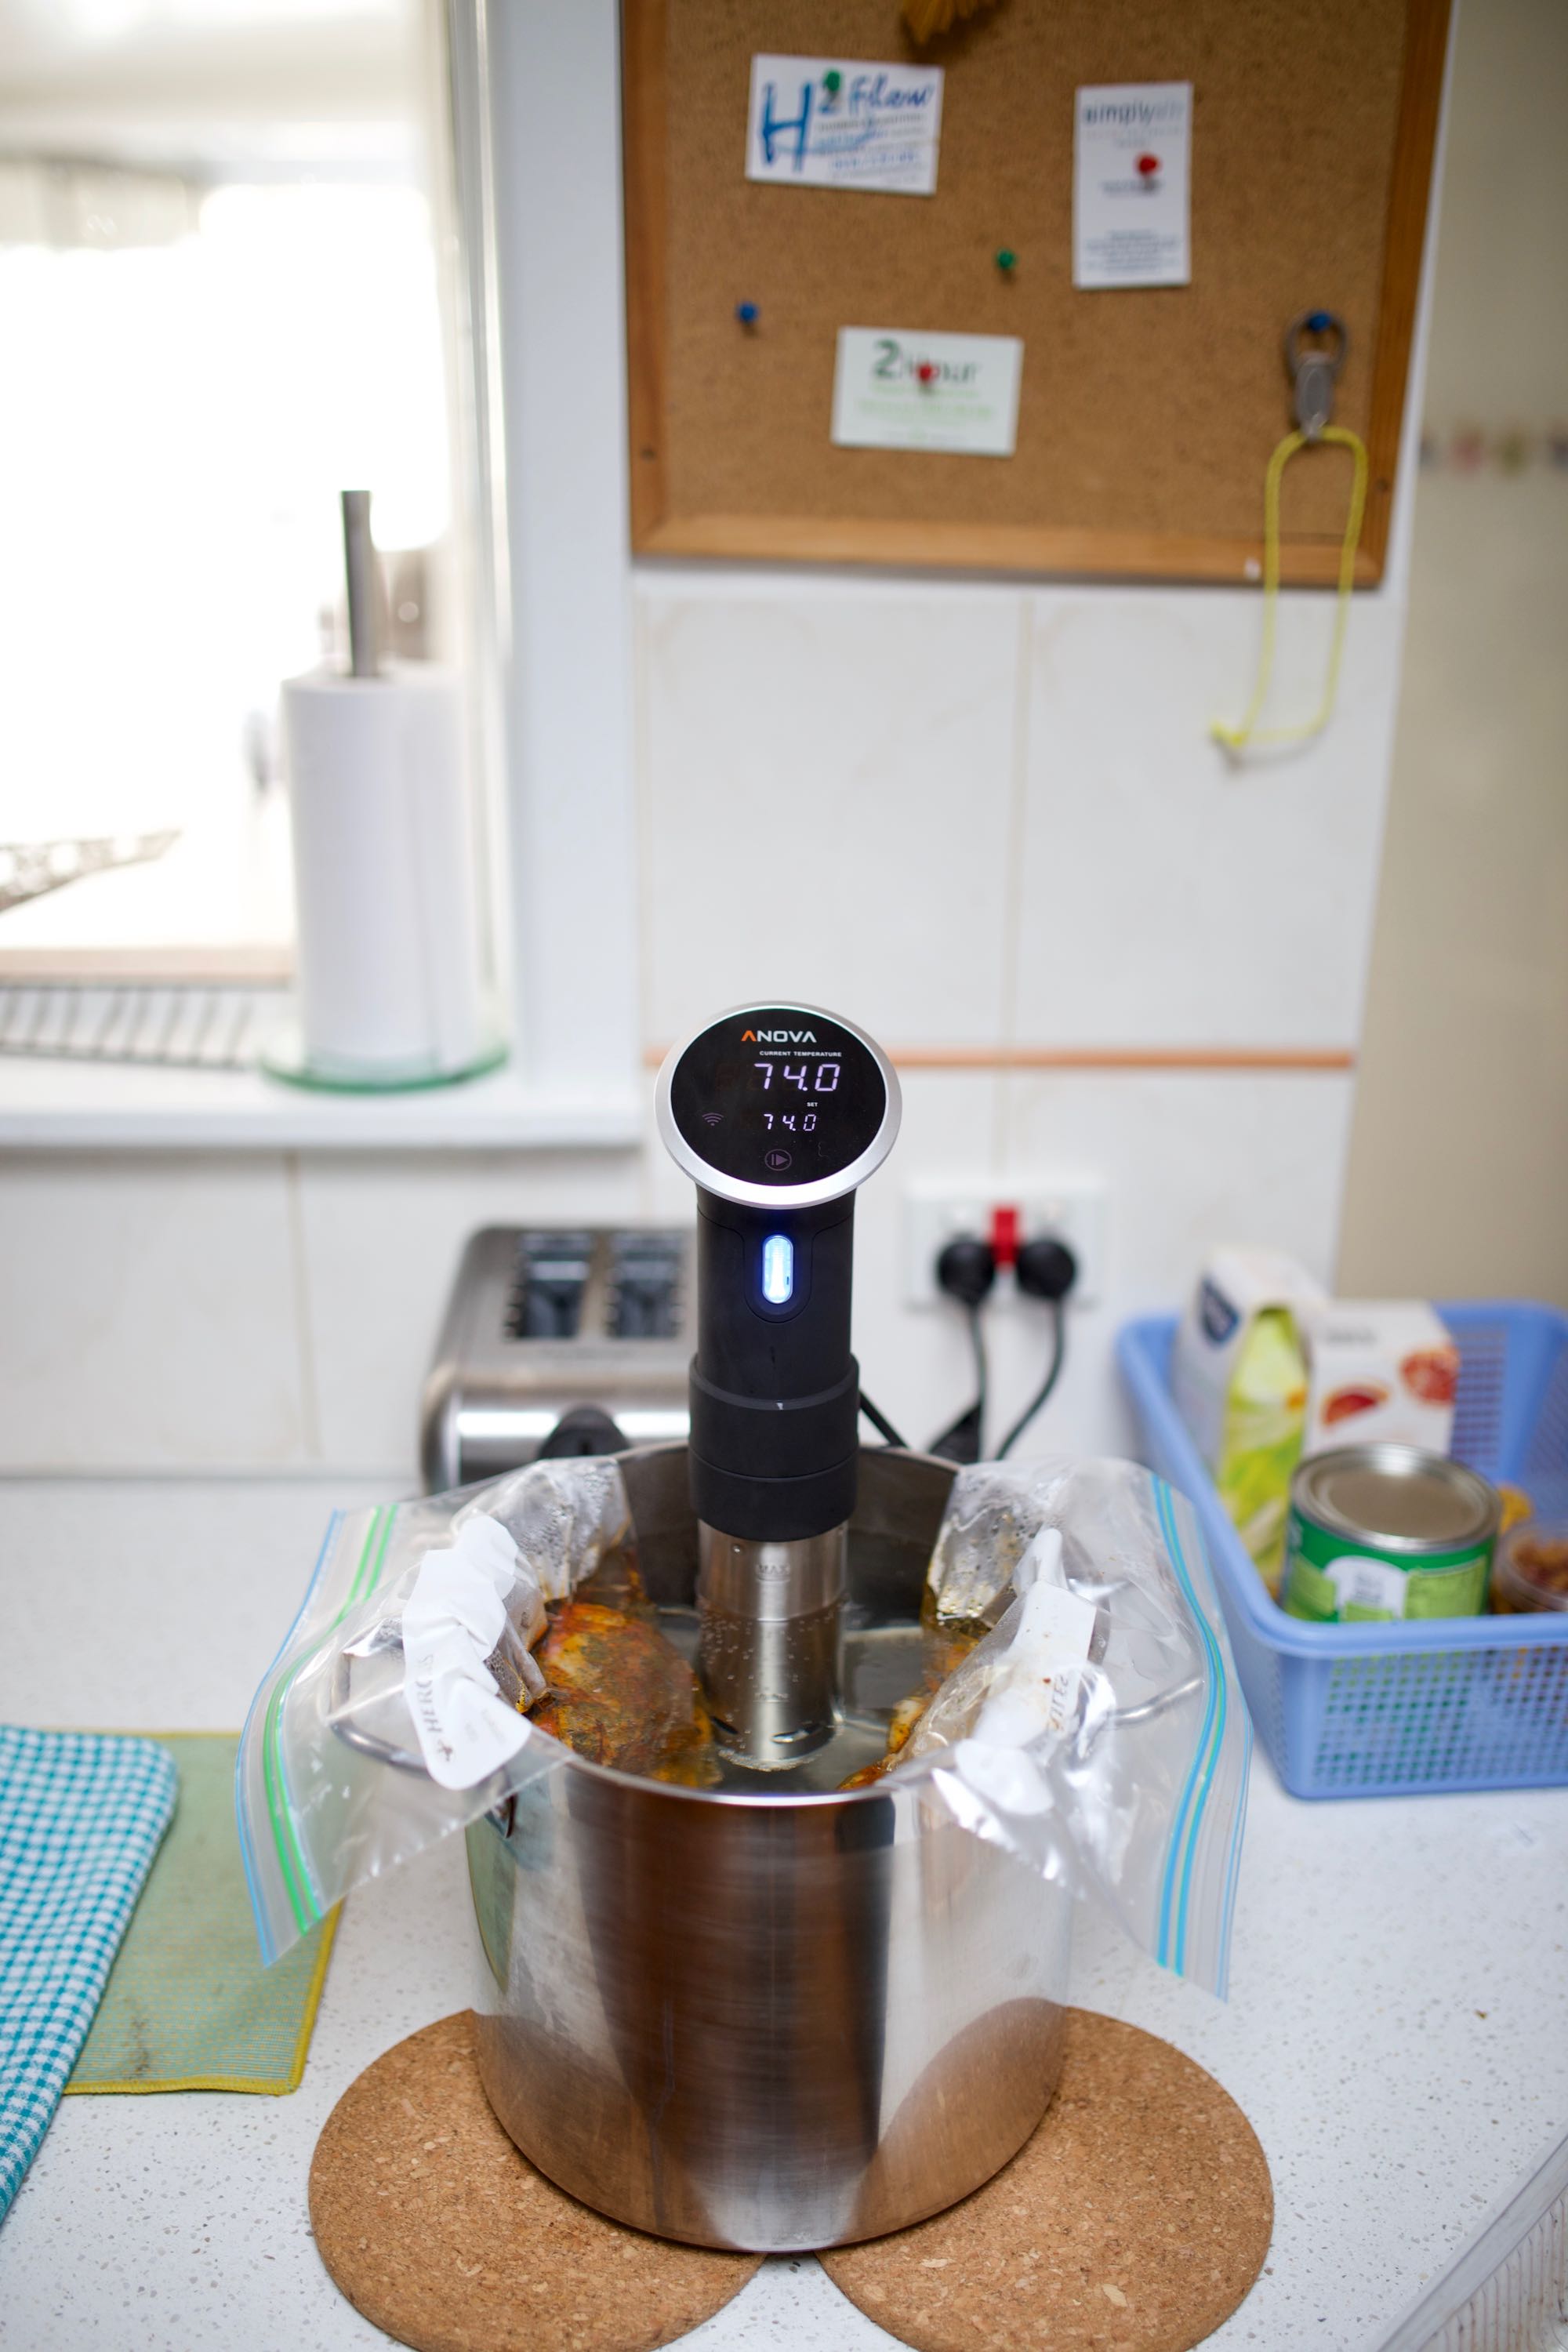
According to the in-app instruction from Anova (the manufacturer recommendation), with the following settings the chicken should then be ready to be seared or grilled before serving.
74°C for 1h 30m for tender and juicy result
However, the insides, specifically the parts connected to the bones came out slightly under-cooked when I took them out after exactly 1h 30m. Taking into account of the larger and thicker pieces, it makes sense that the chicken pieces would require longer cooking time.
So from this point on-wards, I would definitely leave it cooking for longer to ensure that all parts of the chicken is thoroughly cooked. The good thing about sous-vide is that the meat would not over-cook even if you leave it in the water for longer, since the temperature is precisely kept at desired level. Effectively, it just keep the meat ‘warm’ on the outside, while propagating the heat inwards until the whole piece reaches equilibrium.
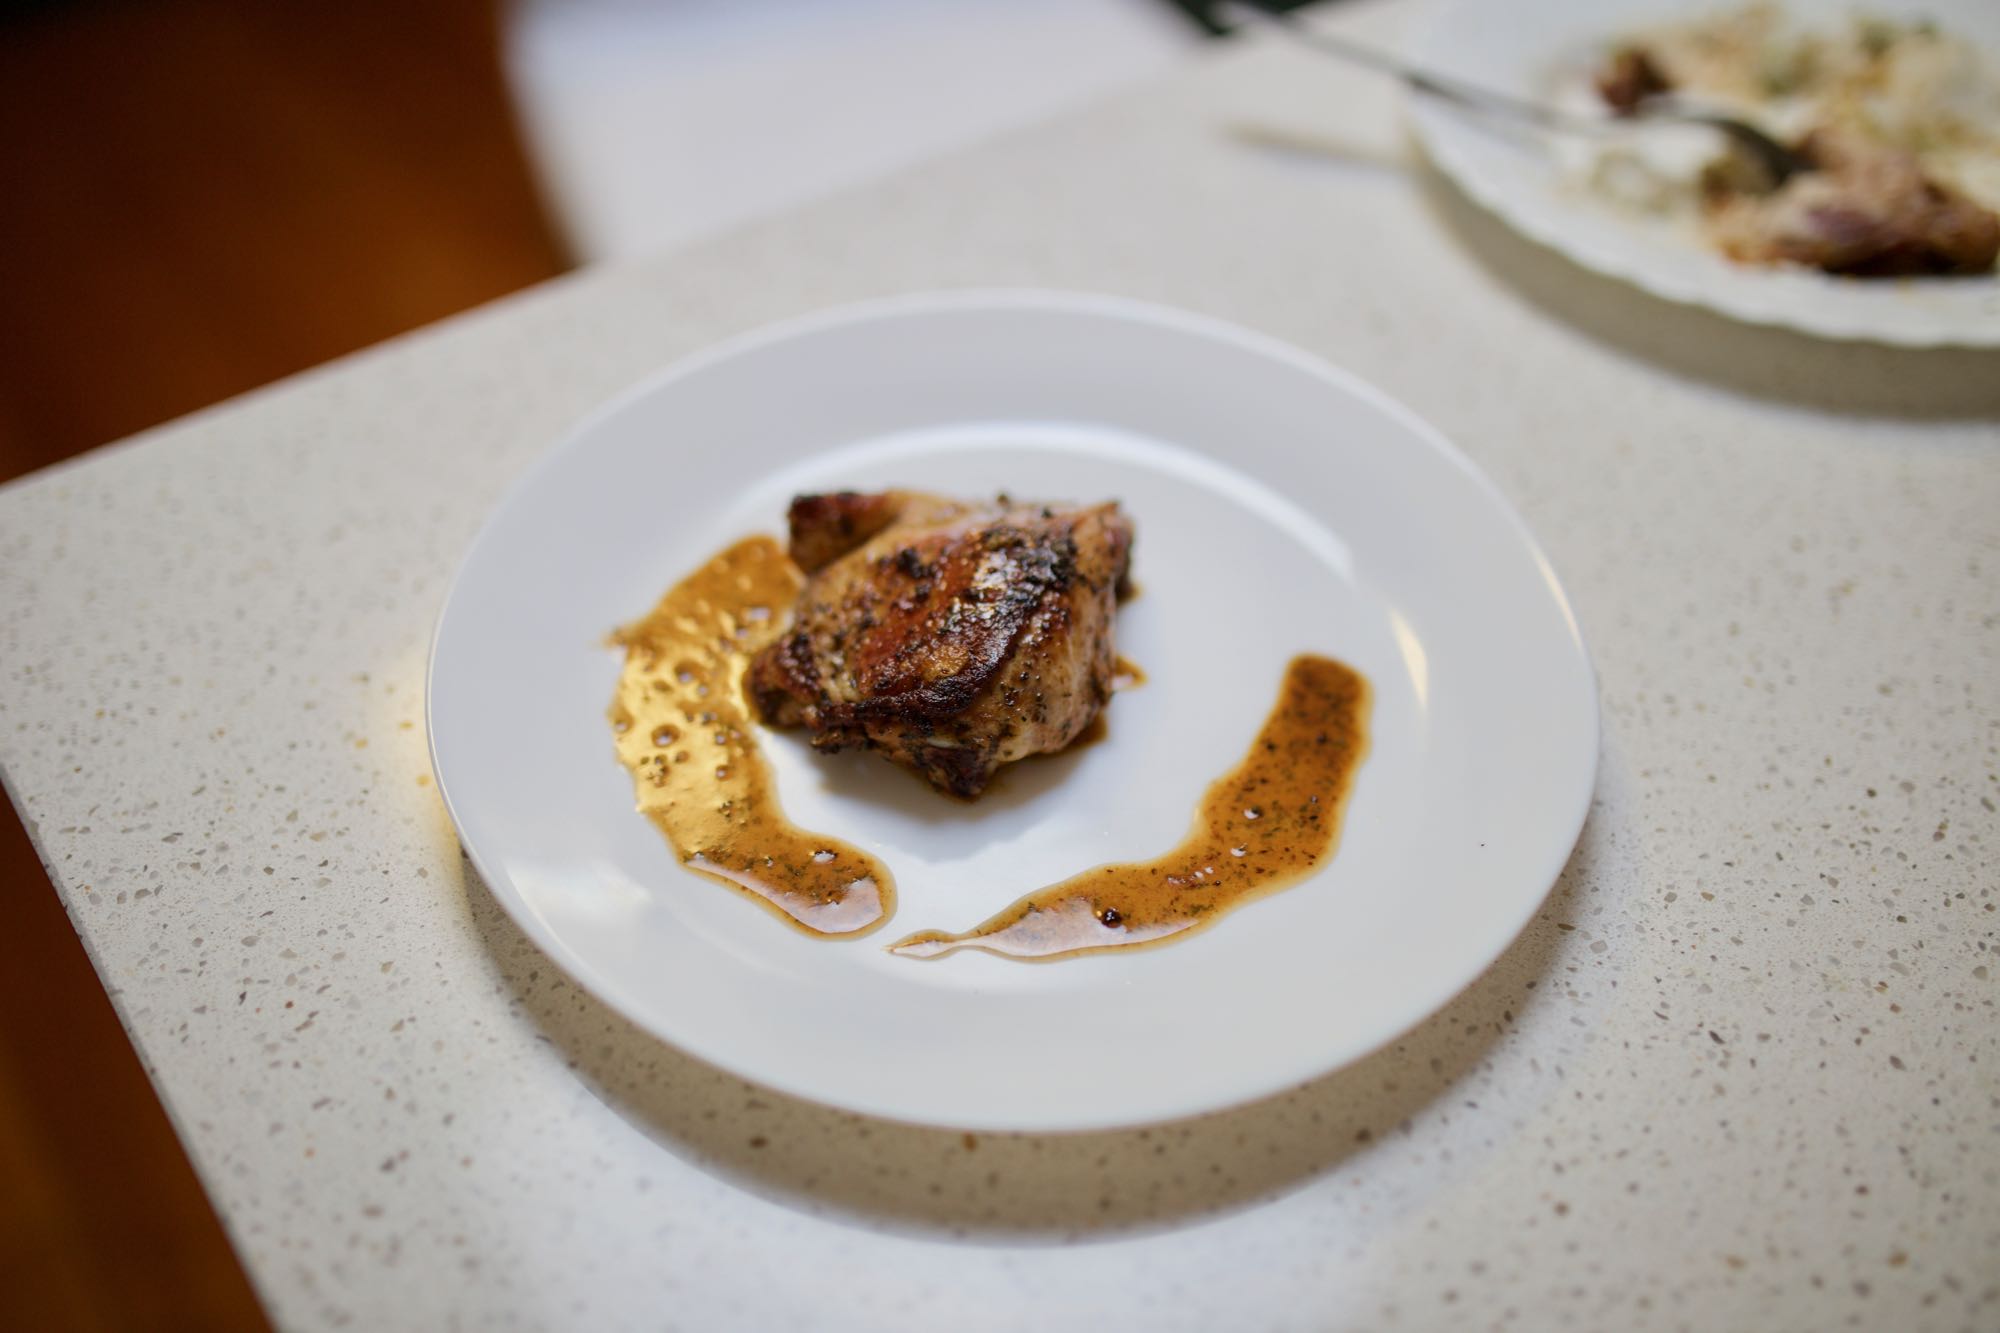
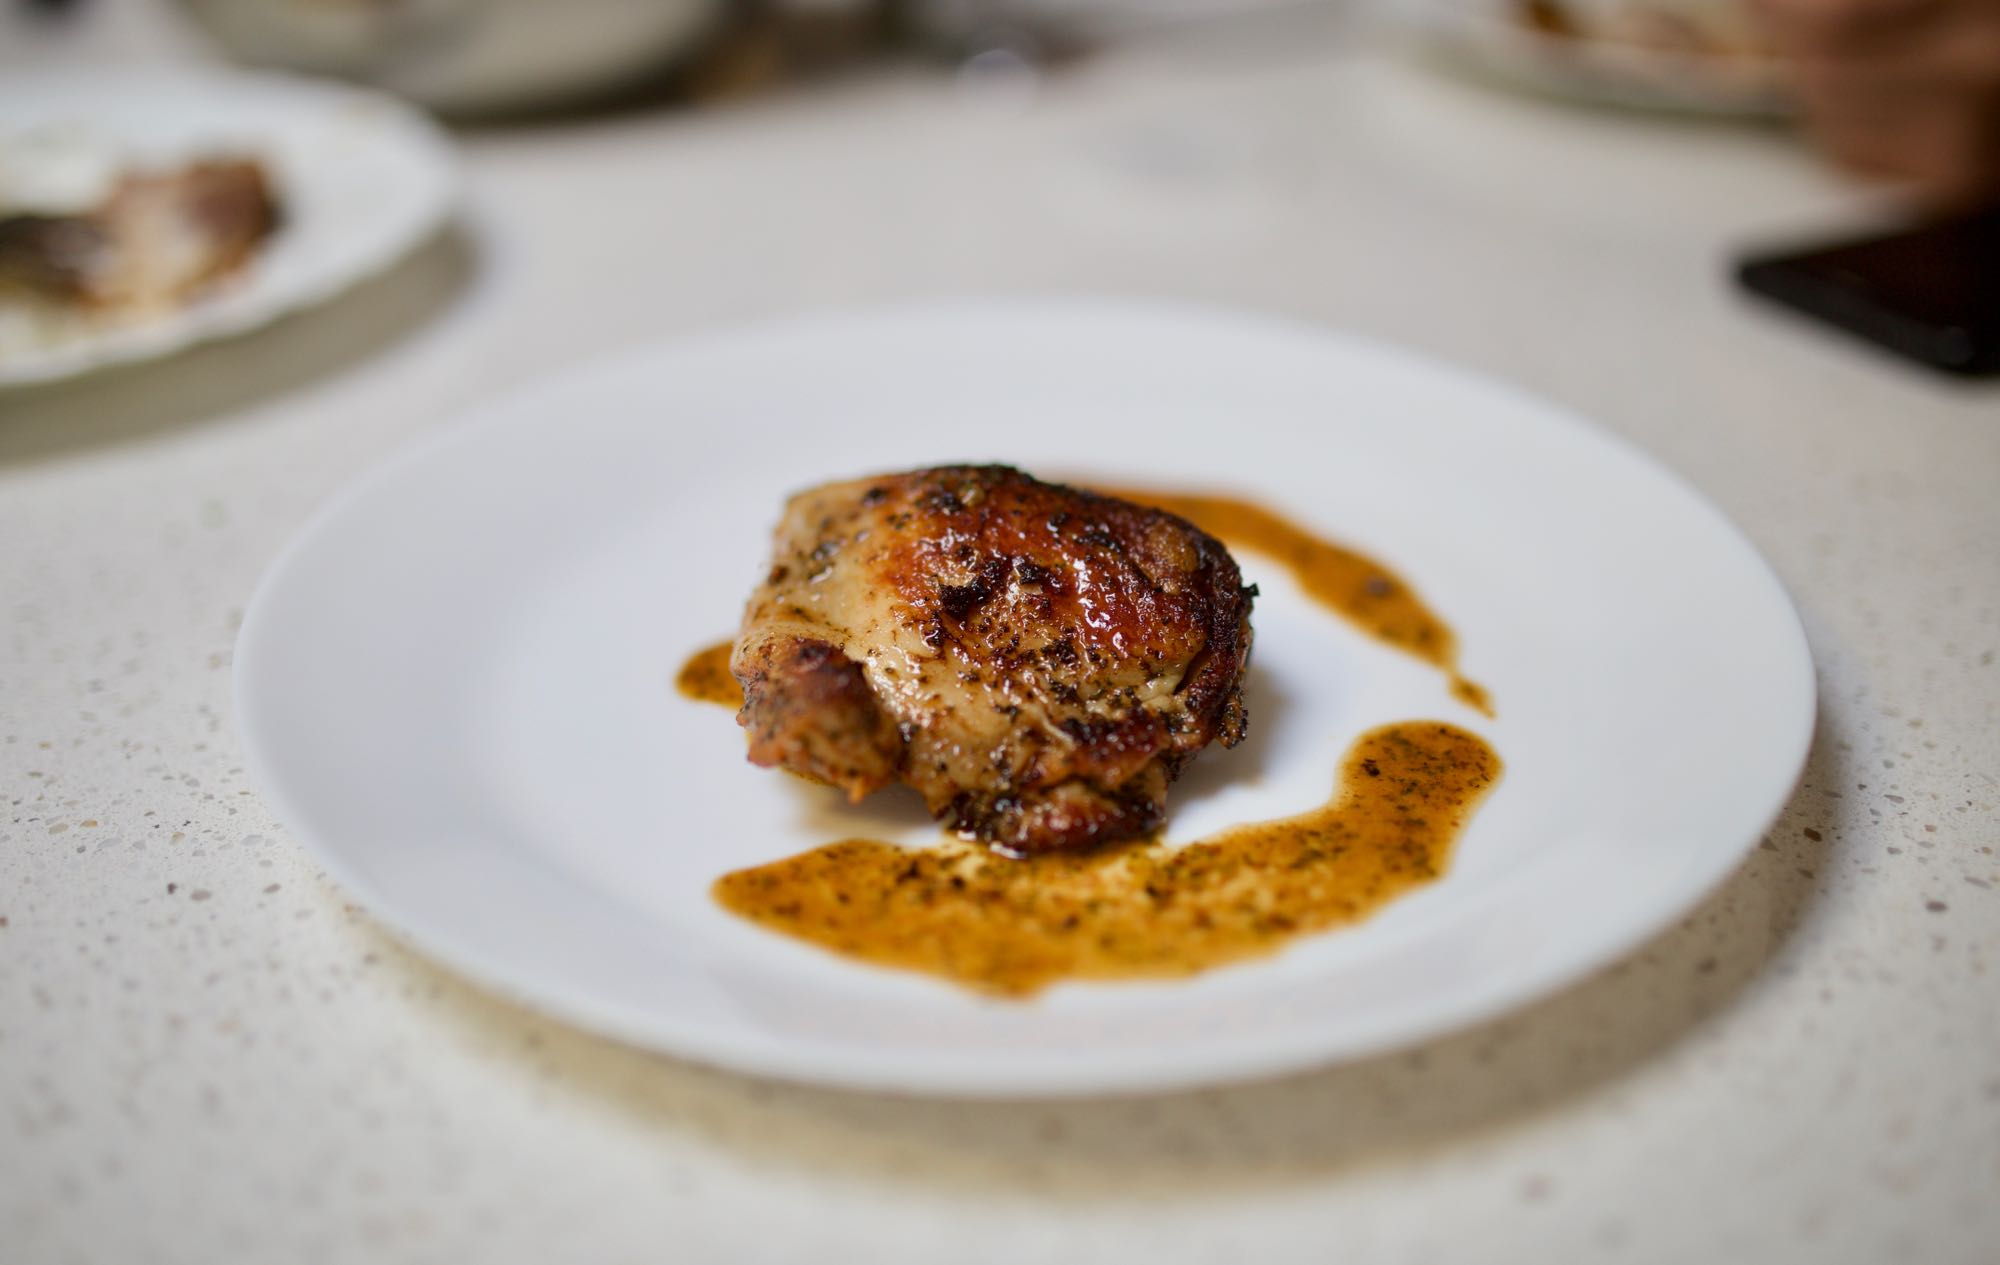
After the chicken is taken out of the sous-vide bag, the exterior are dried with paper-towel. Once the oil in the frying pan is heated until it glistens and shimmers (the moment when you can see a thin layer of plume). The chicken is added in to sear the exterior skin. This process usually lasts about 2-3 min depending on how quickly the skin chars, then 1 min for the back side before being moved onto a plate.
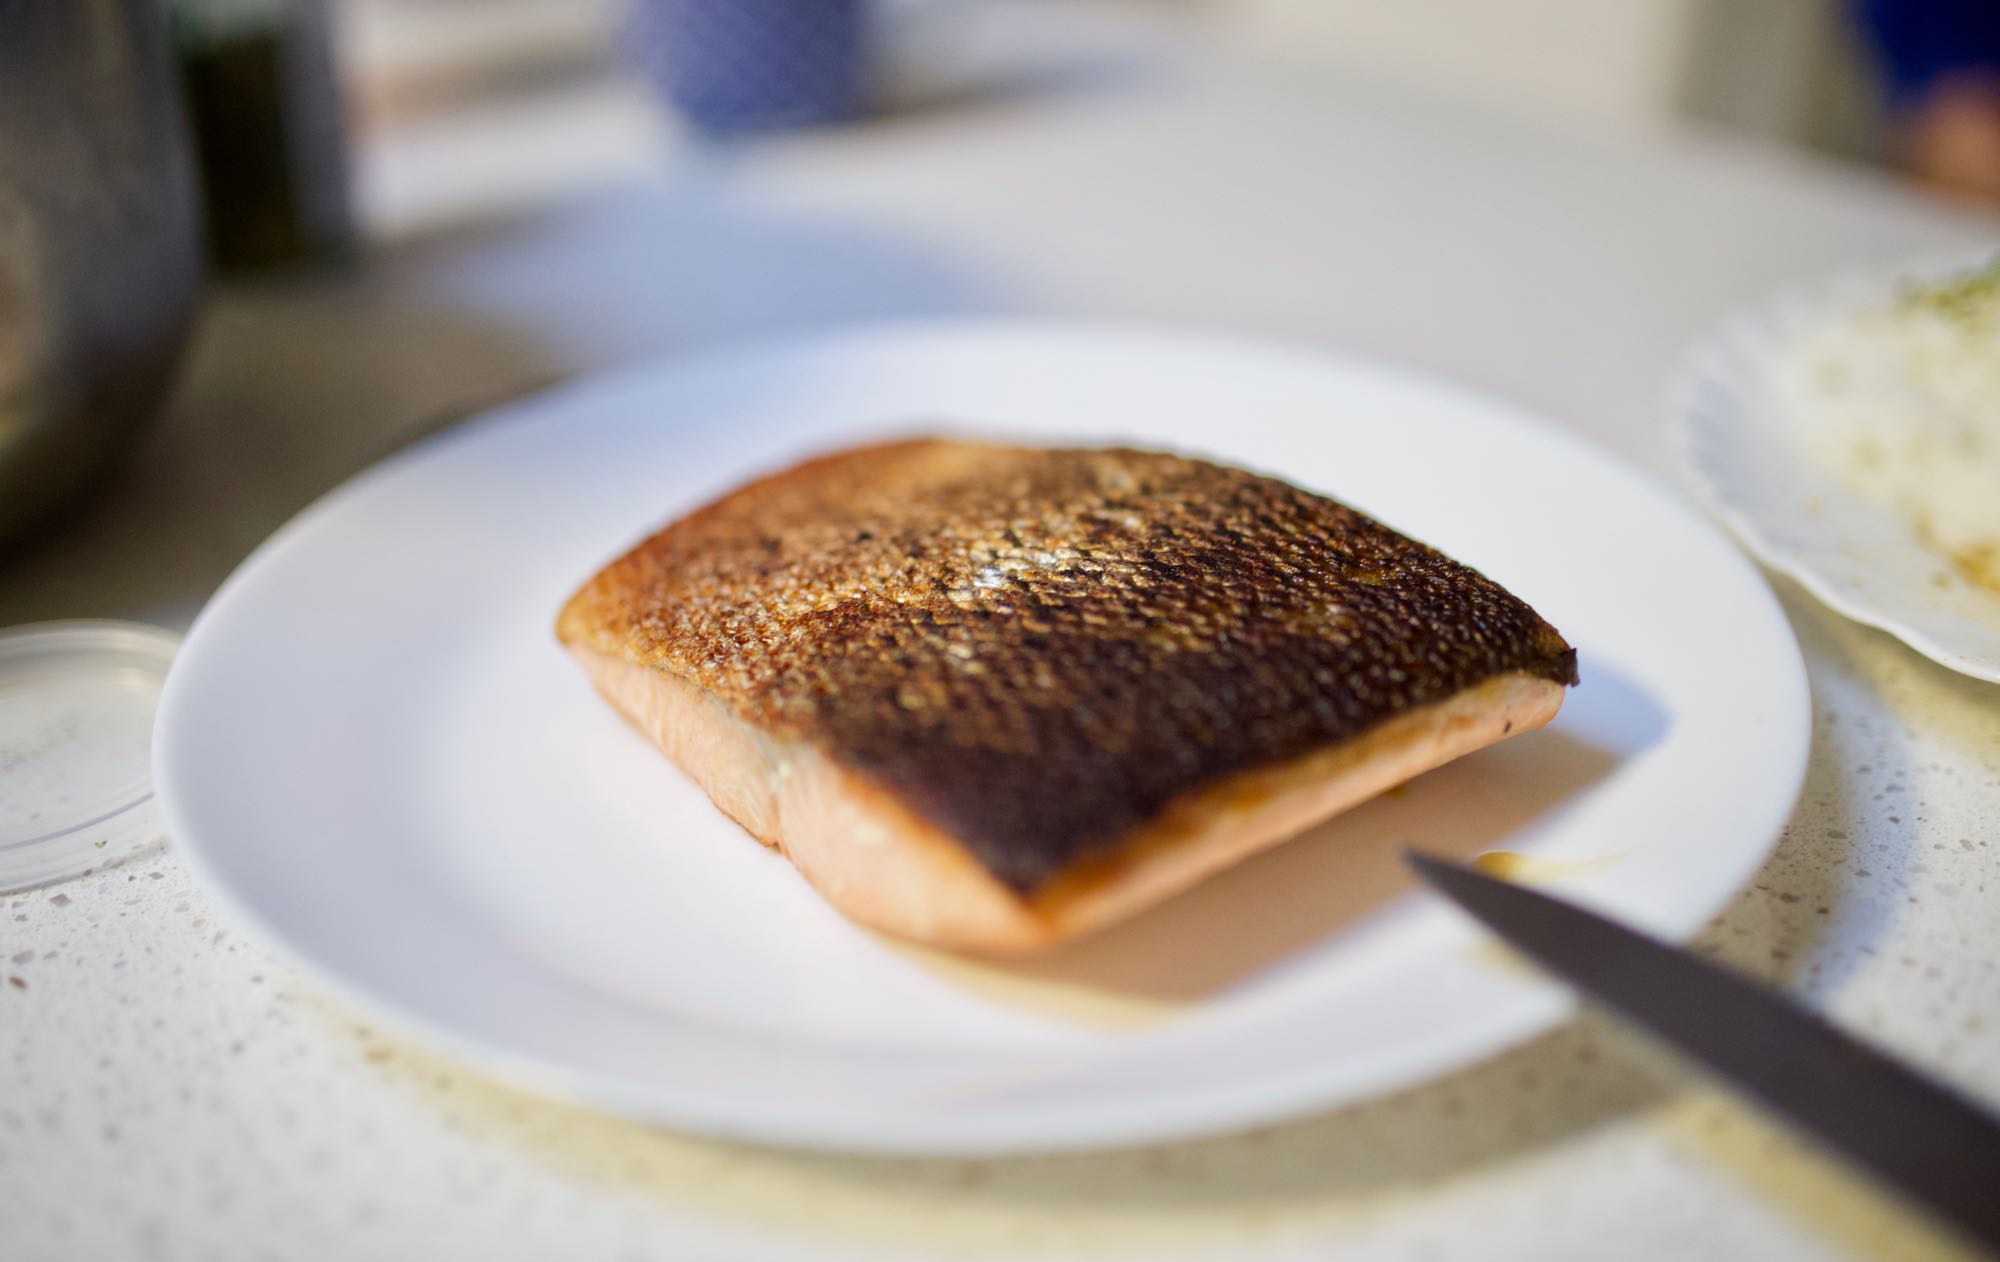
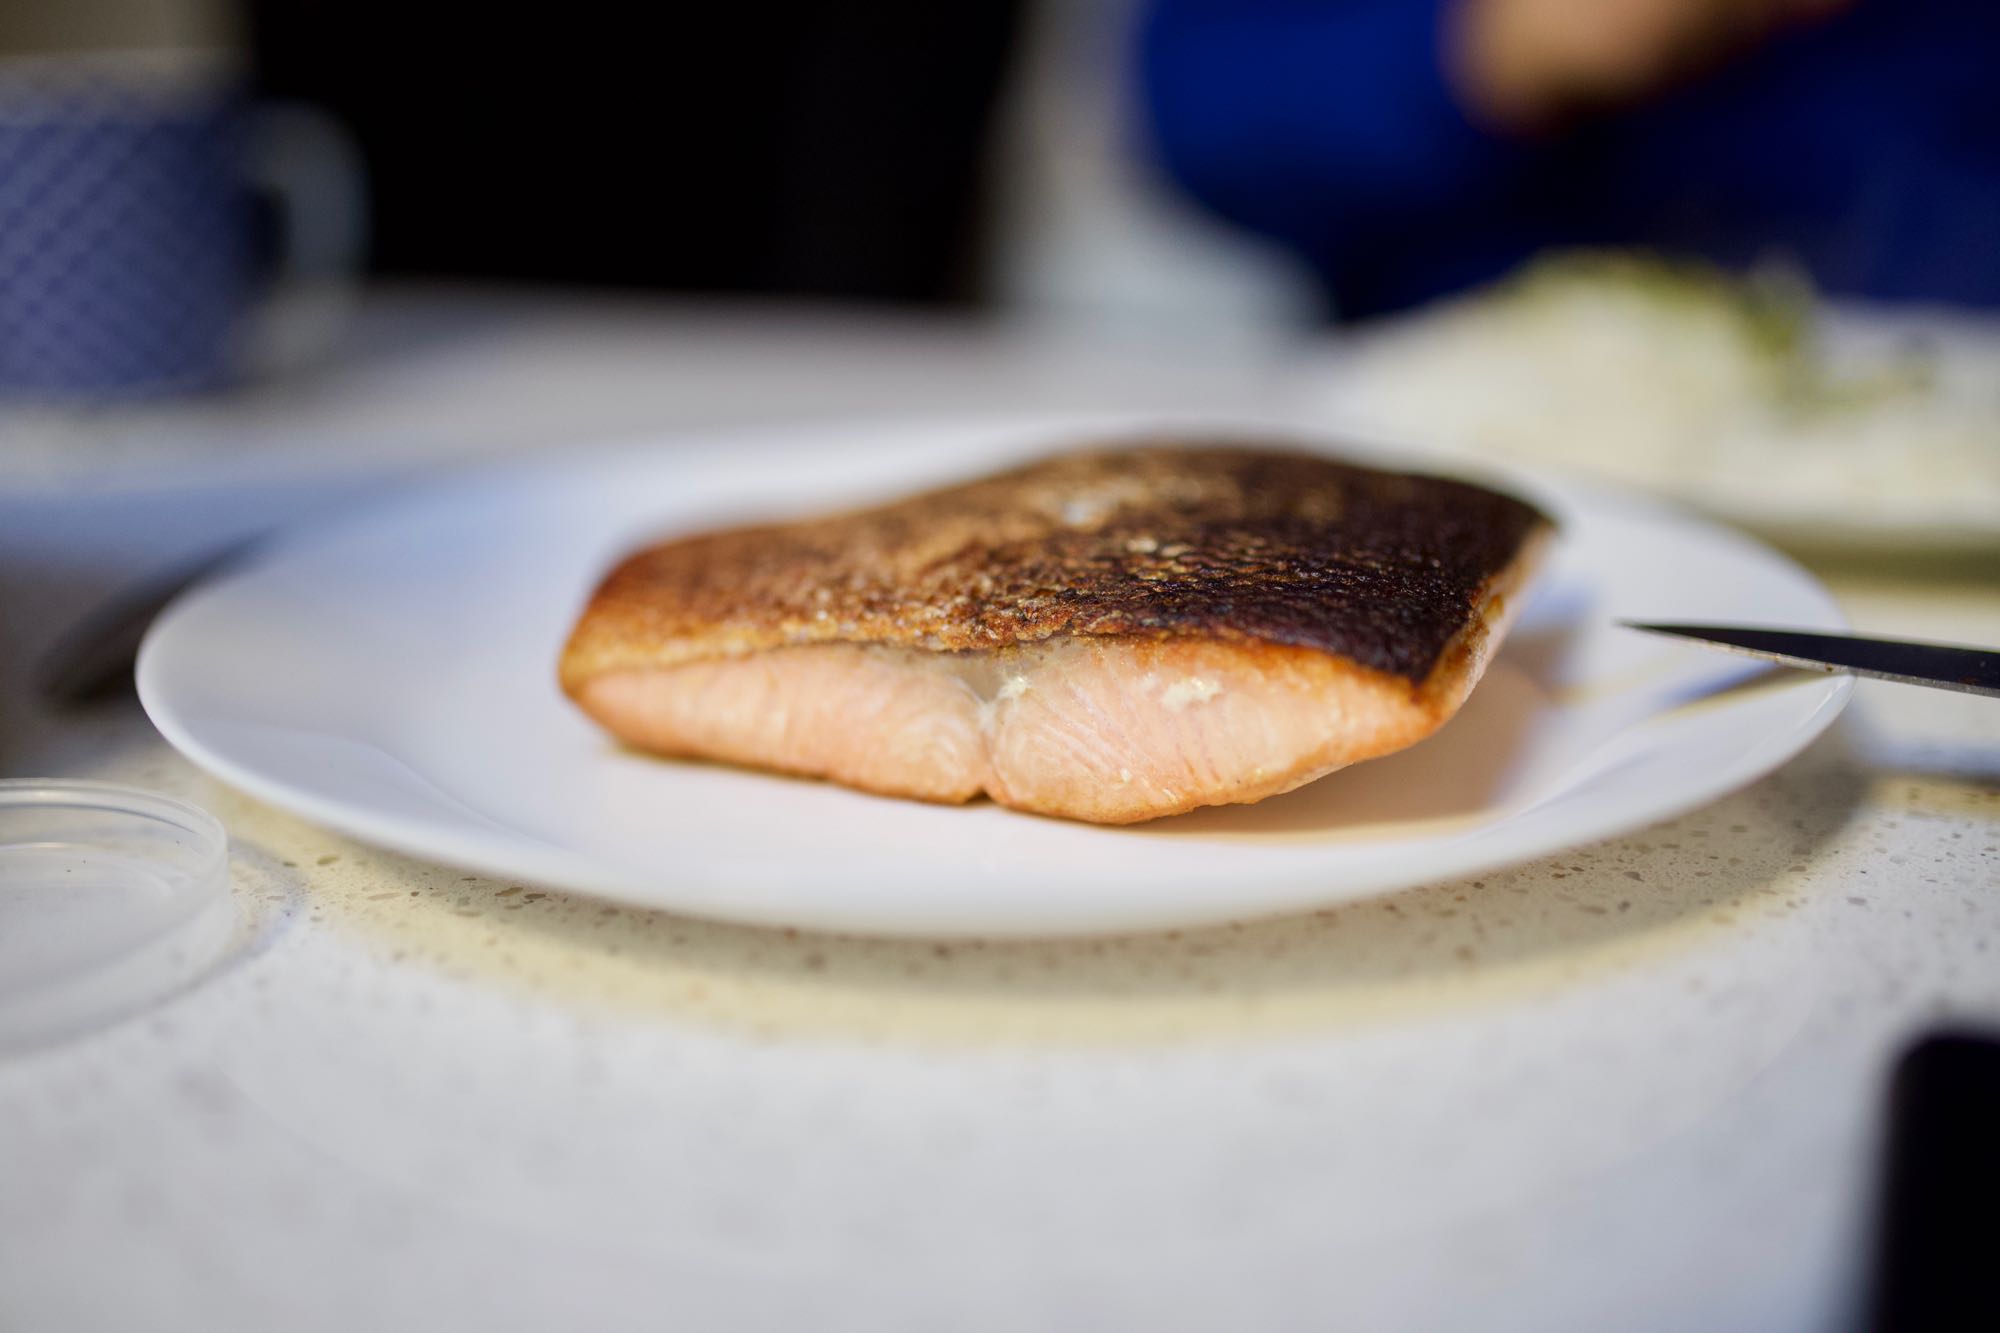
Cooking Salmon
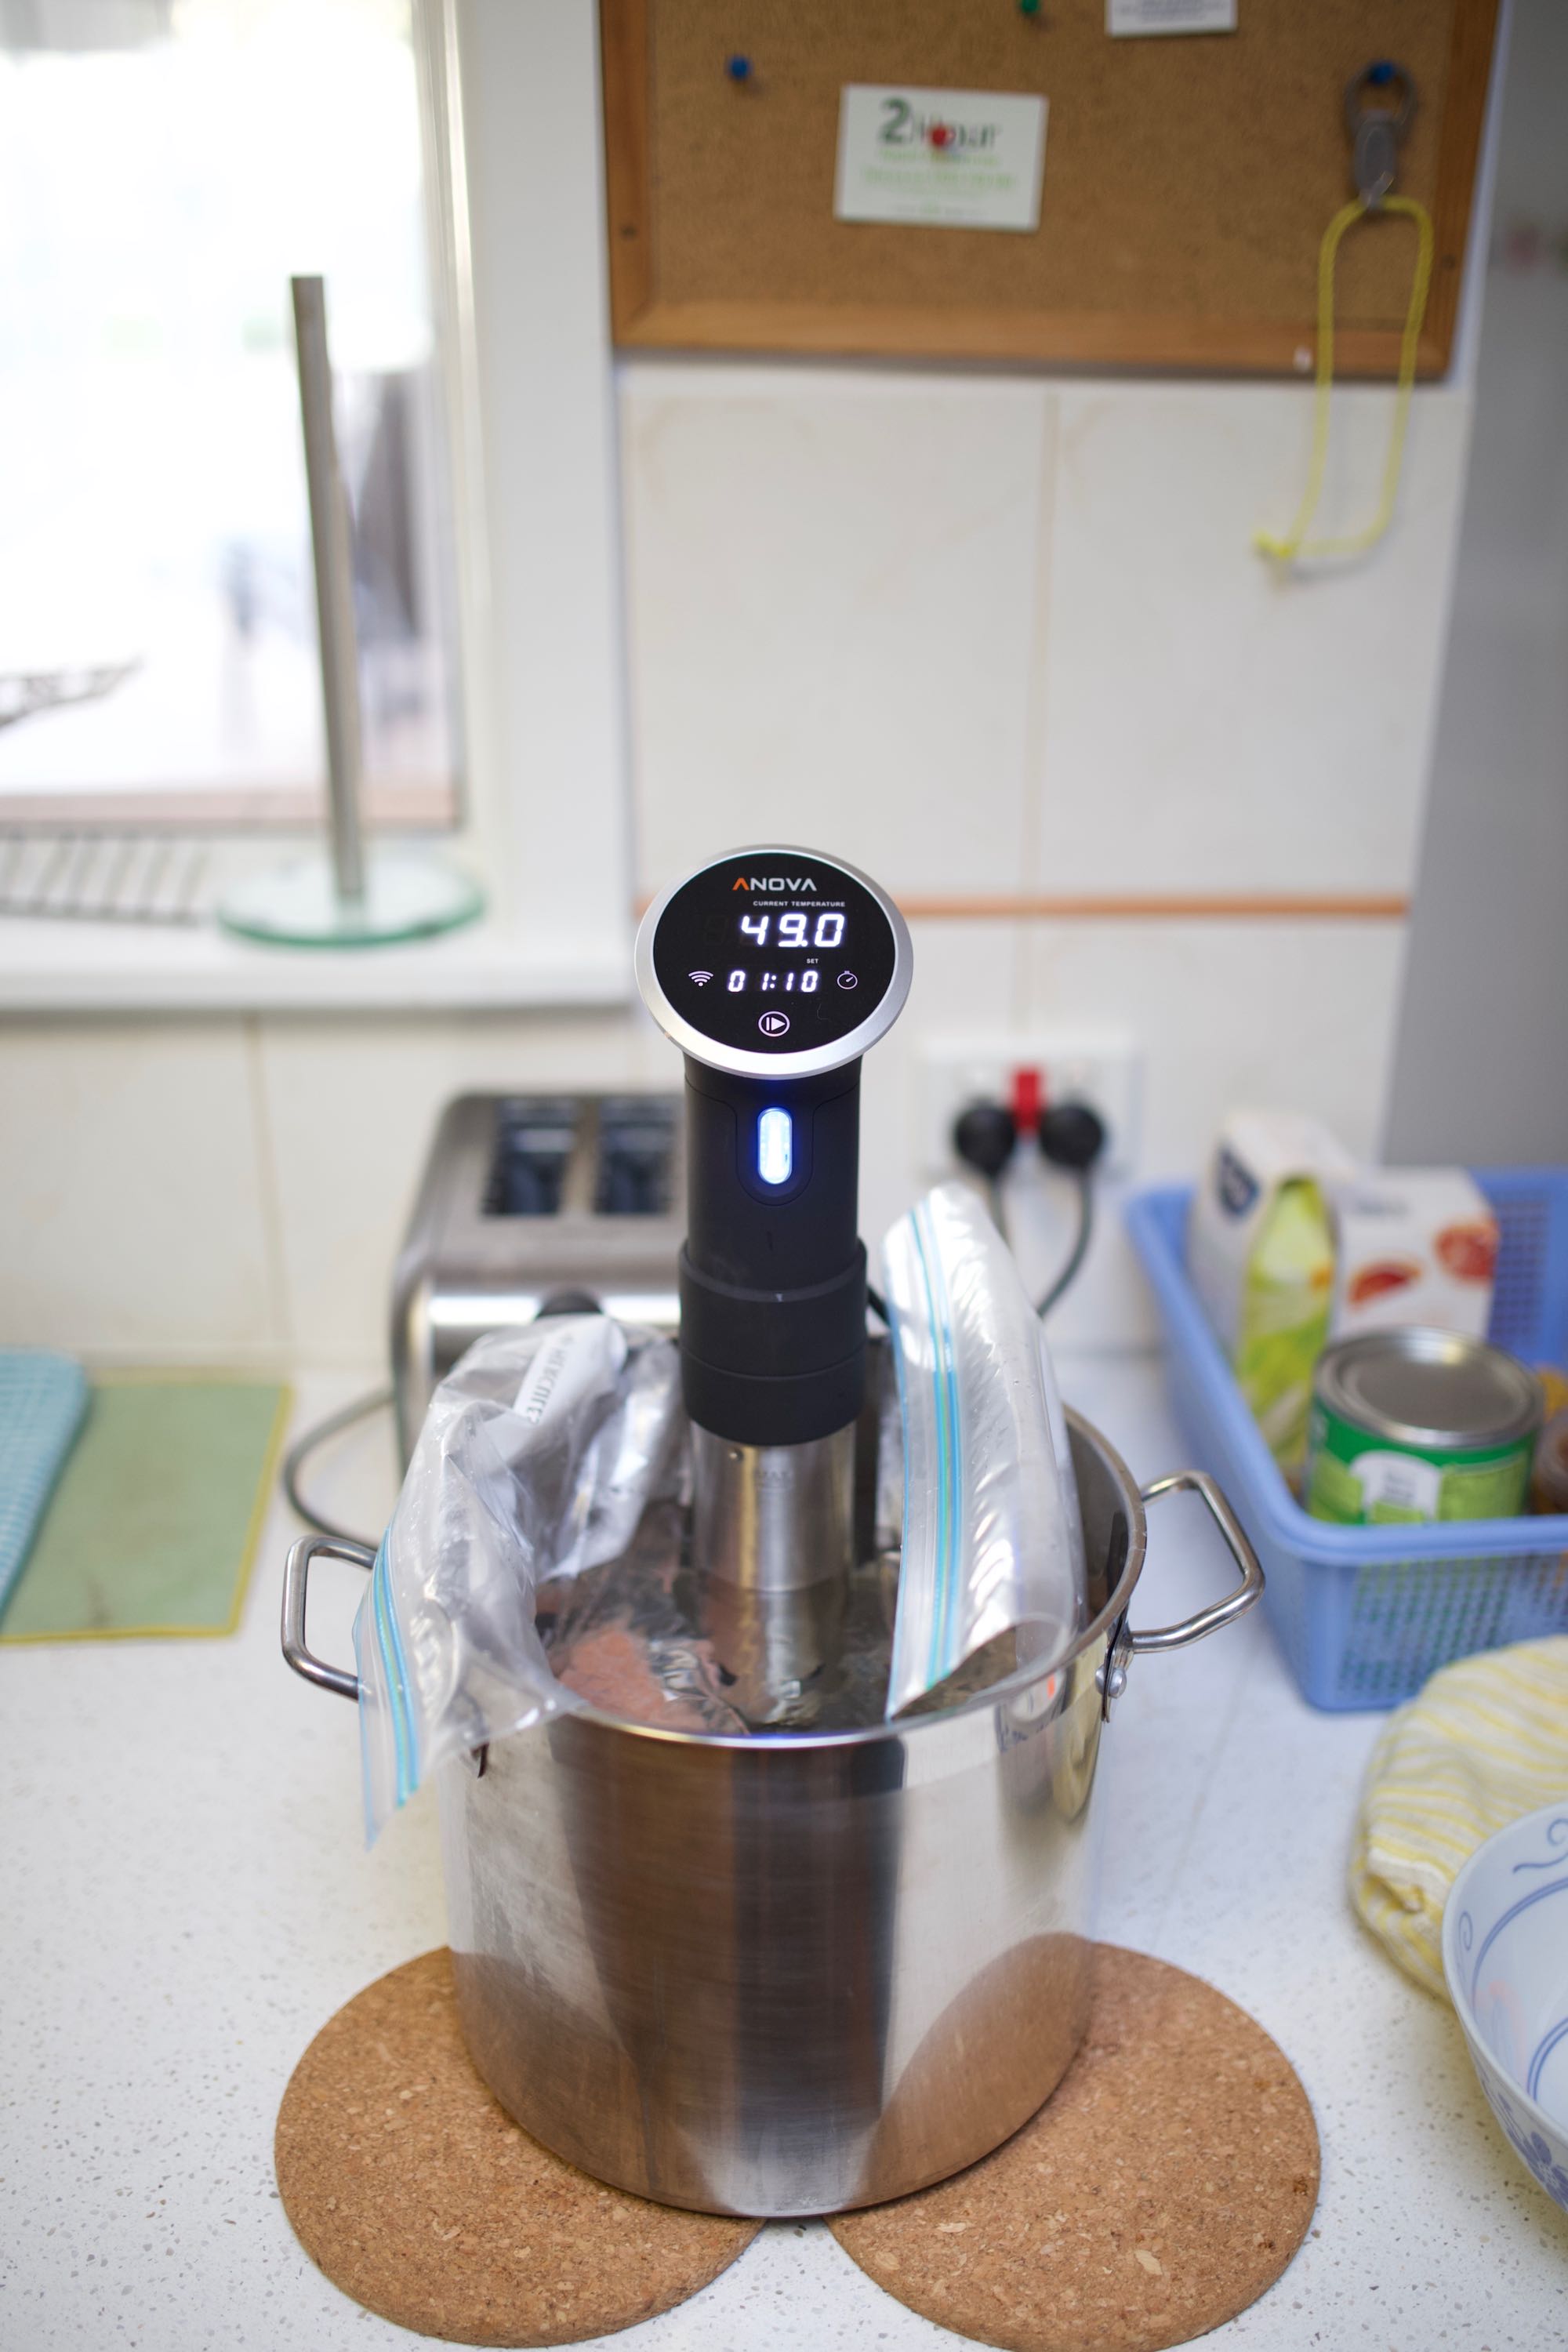
49°C for 45m for very moist, tender, and flaky salmon
After learning the lesson from cooking chicken thigh, I kept the Salmon in the sous-vide longer. Instead of just 45 min, I left them in the water tub for about 1h ~ 1h 15m to ensure that the internal temperature has reached the equilibrium. The end result was satisfactory, and the taste was more or less as expected. The main difference in salmon preparation process is that the salmon goes into an ice bath after coming out of the sous-vide.
Note that for further preservation, the meat can be placed into an ice bath and they can be stored for longer. So that they can be kept in the fridge and cooked 3-5 days later. Similar to the chicken thigh from before, the skin side of the salmon is seared before being plated and served.
Final Thoughts
It is always a good idea to plan ahead for the long waiting time. If you start the preparation early, you would not have to risk delaying a meal by 2-3 hours.
In addition, it is important to take into account the thickness of the meat and keep the meat in the water for longer if necessary. This ensures that the meat reaches the desired equilibrium temperature.
While chicken thigh and salmon turned out pretty well, I would still say that the sous-vide method truly shines when cooking thicker pieces of beef and chicken breast. Regardless of the thickness level, given enough time, the sous-vide can always consistently produce the evenly cooked results.